
前置準備
使用 week11 表單建立以及操作 的專案繼續進行
參考文章: 官方 Document
及時預覽插件 – Live Server
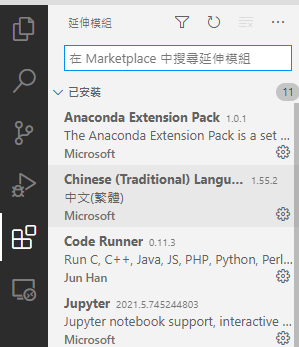
開啟 VSCODE ,並且開啟延伸模組的頁面
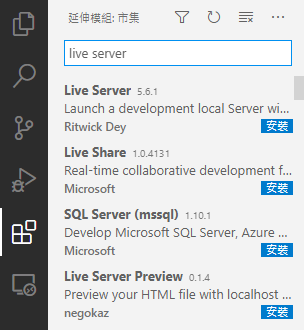
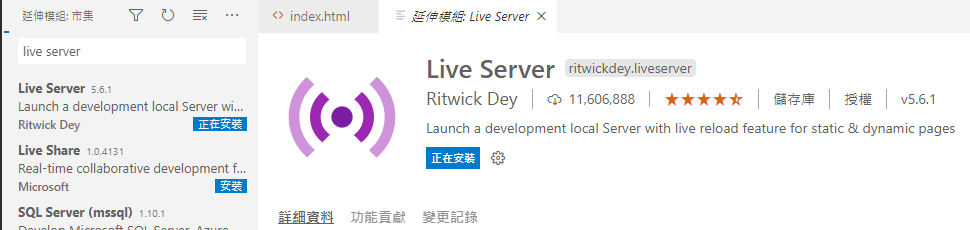
搜尋 live server 並且安裝
在根目錄的部分新增一個資料夾 boot
在 boot 底下新增一個檔案 index.html ,並且貼上以下程式碼
<!doctype html>
<html lang="en">
<head>
<!-- Required meta tags -->
<meta charset="utf-8">
<meta name="viewport" content="width=device-width, initial-scale=1">
<!-- Bootstrap CSS -->
<link href="https://cdn.jsdelivr.net/npm/bootstrap@5.0.0-beta3/dist/css/bootstrap.min.css" rel="stylesheet" integrity="sha384-eOJMYsd53ii+scO/bJGFsiCZc+5NDVN2yr8+0RDqr0Ql0h+rP48ckxlpbzKgwra6" crossorigin="anonymous">
<title>Hello, world!</title>
</head>
<body>
<h1>Hello, world!</h1>
<!-- Optional JavaScript; choose one of the two! -->
<!-- Option 1: Bootstrap Bundle with Popper -->
<script src="https://cdn.jsdelivr.net/npm/bootstrap@5.0.0-beta3/dist/js/bootstrap.bundle.min.js" integrity="sha384-JEW9xMcG8R+pH31jmWH6WWP0WintQrMb4s7ZOdauHnUtxwoG2vI5DkLtS3qm9Ekf" crossorigin="anonymous"></script>
<!-- Option 2: Separate Popper and Bootstrap JS -->
<!--
<script src="https://cdn.jsdelivr.net/npm/@popperjs/core@2.9.1/dist/umd/popper.min.js" integrity="sha384-SR1sx49pcuLnqZUnnPwx6FCym0wLsk5JZuNx2bPPENzswTNFaQU1RDvt3wT4gWFG" crossorigin="anonymous"></script>
<script src="https://cdn.jsdelivr.net/npm/bootstrap@5.0.0-beta3/dist/js/bootstrap.min.js" integrity="sha384-j0CNLUeiqtyaRmlzUHCPZ+Gy5fQu0dQ6eZ/xAww941Ai1SxSY+0EQqNXNE6DZiVc" crossorigin="anonymous"></script>
-->
</body>
</html>
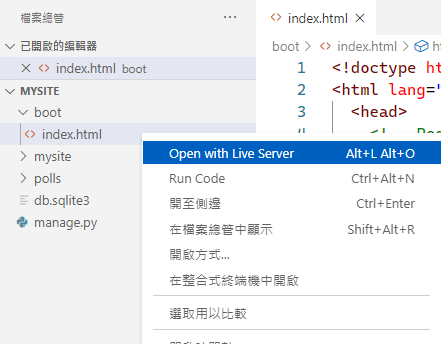
對著 index.html 檔案按下右鍵>Open with Live Server
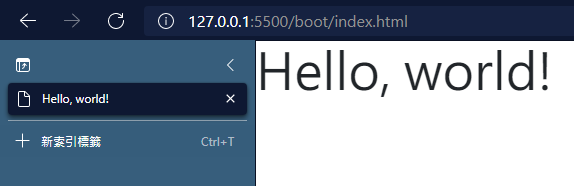
這樣就可以看到及時預覽
響應式頁面設計
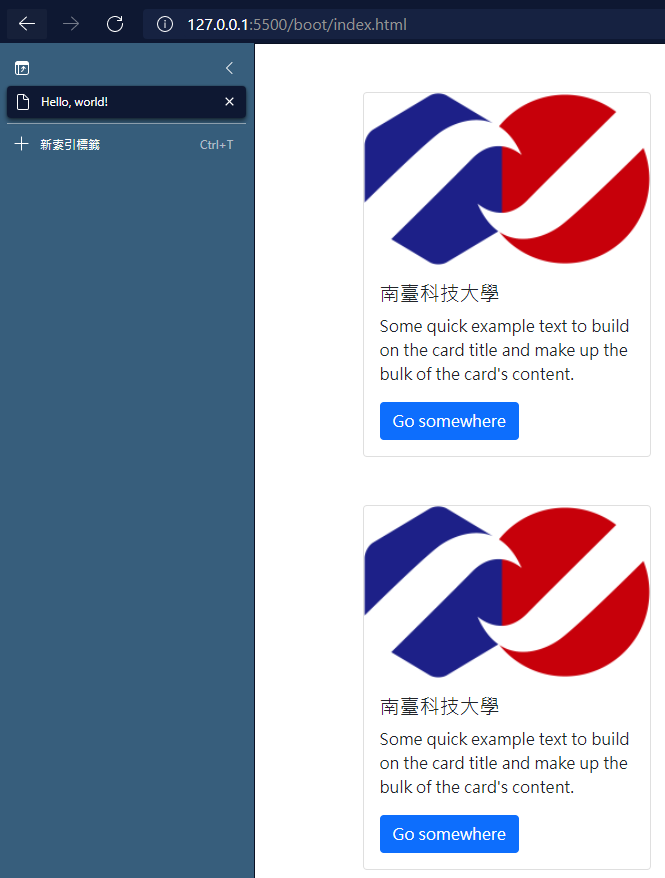
修改 index.html 檔案,覆蓋以下程式碼
<!doctype html>
<html lang="en">
<head>
<!-- Required meta tags -->
<meta charset="utf-8">
<meta name="viewport" content="width=device-width, initial-scale=1">
<!-- Bootstrap CSS -->
<link href="https://cdn.jsdelivr.net/npm/bootstrap@5.0.0-beta3/dist/css/bootstrap.min.css" rel="stylesheet" integrity="sha384-eOJMYsd53ii+scO/bJGFsiCZc+5NDVN2yr8+0RDqr0Ql0h+rP48ckxlpbzKgwra6" crossorigin="anonymous">
<title>Hello, world!</title>
</head>
<body>
<main class="container">
<div class="row">
<div class="col">
<div class="card mt-5" style="width: 18rem;">
<img src="https://www.stust.edu.tw/tc/images/about/logo.png" class="card-img-top" alt="...">
<div class="card-body">
<h5 class="card-title">南臺科技大學</h5>
<p class="card-text">Some quick example text to build on the card title and make up the bulk of the card's content.</p>
<a href="#" class="btn btn-primary">Go somewhere</a>
</div>
</div>
</div>
</div>
</main>
<script src="https://cdn.jsdelivr.net/npm/bootstrap@5.0.0-beta3/dist/js/bootstrap.bundle.min.js" integrity="sha384-JEW9xMcG8R+pH31jmWH6WWP0WintQrMb4s7ZOdauHnUtxwoG2vI5DkLtS3qm9Ekf" crossorigin="anonymous"></script>
</body>
</html>
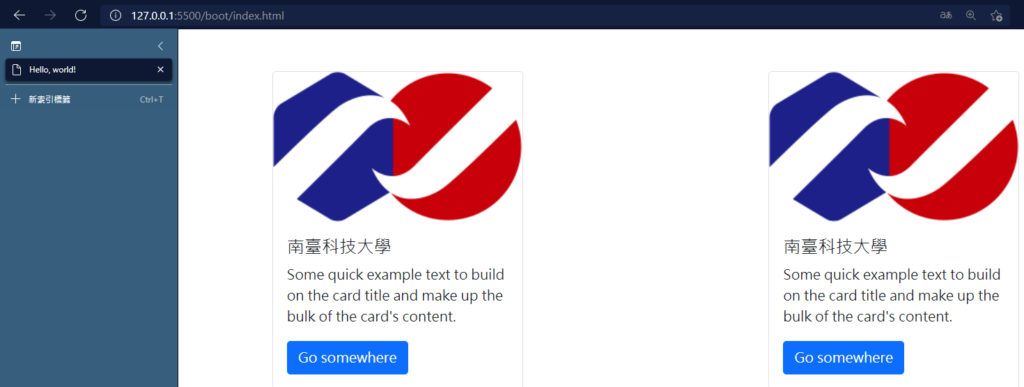
儲存檔案並且查看剛剛開啟的及時預覽瀏覽器,可以發現變成了響應式的卡片框架
Django crispy Forms
參考文章: Render a Django Bootstrap Form
安裝 crispy Forms 套件
pip install django-crispy-forms

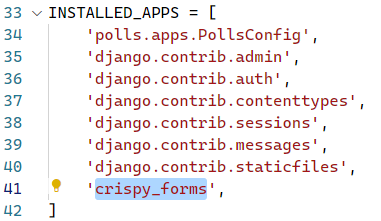
修改 mysite/settings.py 檔案,在 INSTALLED_APPS 加入以下程式碼
'crispy_forms',
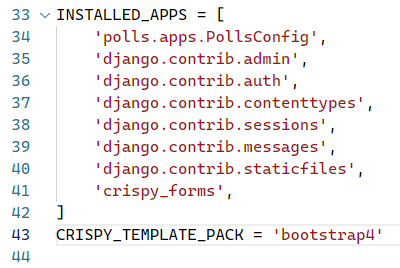
在 INSTALLED_APPS 下方新增以下程式碼
CRISPY_TEMPLATE_PACK = 'bootstrap4'
修改 templates/question_form.html 檔案,覆蓋以下程式碼
<!DOCTYPE html>
<html>
<head>
<!-- Required meta tags -->
<meta charset="utf-8">
<meta name="viewport" content="width=device-width, initial-scale=1.0">
<!--Bootstrap CSS-->
<link rel="stylesheet" href="https://stackpath.bootstrapcdn.com/bootstrap/4.4.1/css/bootstrap.min.css"
integrity="sha384-Vkoo8x4CGsO3+Hhxv8T/Q5PaXtkKtu6ug5TOeNV6gBiFeWPGFN9MuhOf23Q9Ifjh" crossorigin="anonymous">
</head>
<body>
{% load crispy_forms_tags %}
<!--Contact form-->
<div class="container p-5">
<h1>Question Form</h1>
<form action="" method="post">
{% csrf_token %}
{{ form|crispy }}
<input type="submit" value="Submit">
</form>
</div>
<!-- Optional Javascript -->
<script src="https://code.jquery.com/jquery-3.4.1.slim.min.js"
integrity="sha384-J6qa4849blE2+poT4WnyKhv5vZF5SrPo0iEjwBvKU7imGFAV0wwj1yYfoRSJoZ+n"
crossorigin="anonymous"></script>
<script src="https://cdn.jsdelivr.net/npm/popper.js@1.16.0/dist/umd/popper.min.js"
integrity="sha384-Q6E9RHvbIyZFJoft+2mJbHaEWldlvI9IOYy5n3zV9zzTtmI3UksdQRVvoxMfooAo"
crossorigin="anonymous"></script>
<script src="https://stackpath.bootstrapcdn.com/bootstrap/4.4.1/js/bootstrap.min.js"
integrity="sha384-wfSDF2E50Y2D1uUdj0O3uMBJnjuUD4Ih7YwaYd1iqfktj0Uod8GCExl3Og8ifwB6"
crossorigin="anonymous"></script>
</body>
</html>
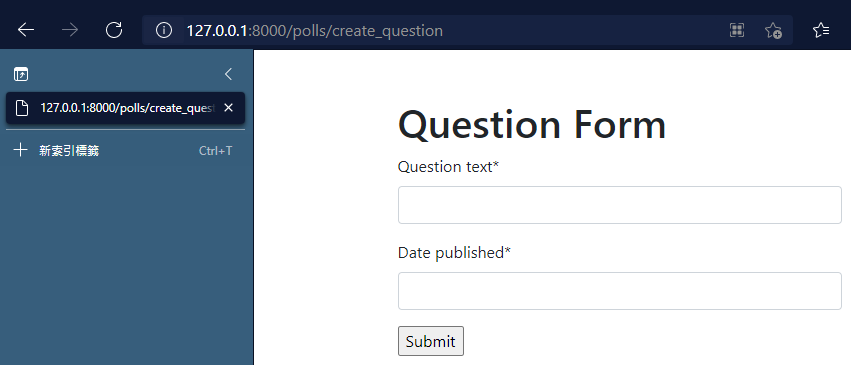
啟動 django 伺服器,並且開啟網頁 http://127.0.0.1:8000/polls/create_question 查看
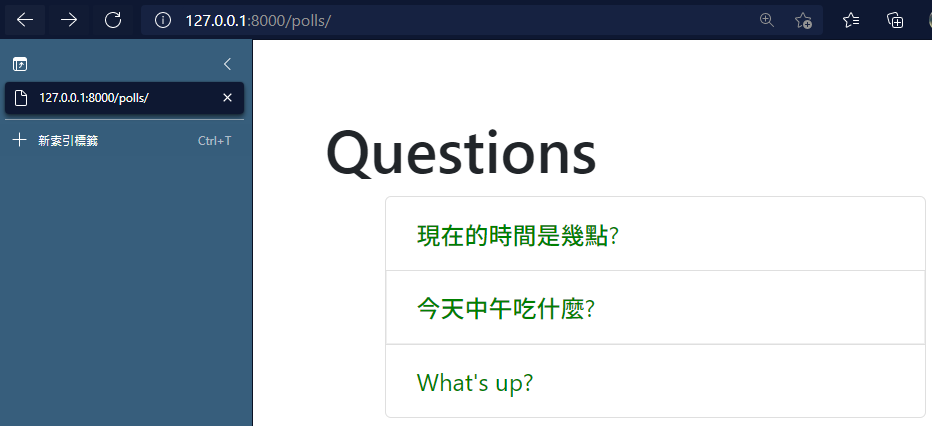
修改 polls/templates/polls/index.html 檔案,覆蓋以下程式碼
{% load static %}
<!DOCTYPE html>
<html>
<head>
<!-- Required meta tags -->
<meta charset="utf-8">
<meta name="viewport" content="width=device-width, initial-scale=1.0">
<!--Bootstrap CSS-->
<link rel="stylesheet" href="https://stackpath.bootstrapcdn.com/bootstrap/4.4.1/css/bootstrap.min.css"
integrity="sha384-Vkoo8x4CGsO3+Hhxv8T/Q5PaXtkKtu6ug5TOeNV6gBiFeWPGFN9MuhOf23Q9Ifjh" crossorigin="anonymous">
<link rel="stylesheet" type="text/css" href="{% static 'polls/style.css' %}">
</head>
<body>
<!--Contact form-->
<div class="container p-5">
<h1>Questions</h1>
{% if latest_question_list %}
<ul>
{% for question in latest_question_list %}
<li class="list-group-item"><a href="{% url 'polls:detail' question.id %}">{{ question.question_text }}</a>
</li>
{% endfor %}
</ul>
{% else %}
<p>No polls are available.</p>
{% endif %}
</div>
</body>
</html>
進入網頁 http://127.0.0.1:8000/polls/ 查看,是不是漂亮很多?
如何讓頁面顯示超過五筆資料?
修改 polls/views.py 檔案,將第 69 行後面的 [:5] 拿掉


資工系所碩二畢
-
車牌回來了
但是現在汽門漏氣,維修ing...
-
車牌回來了
但是現在汽門漏氣,維修ing...
Latest posts by SHXJ (see all)
- 受保護的內容: NAS 版 Mathbot 管理網站與 Linebot 啟動方法 - 2024 年 11 月 15 日
- Realtime 啥鬼的 - 2021 年 6 月 15 日
- nodejs 數學遊戲 - 2021 年 6 月 8 日