
建立 Root File System (rootfs) 檔案系統
安裝基本套件
安裝建立檔案系統的套件
# apt-get install debootstrap -y建立系統下載腳本與建立第一階段的環境
回到普通使用者 (eecs) 家目錄 (注意使用權限)
$ cd進入 virtualarm 資料夾
$ cd virtualarm新增一個 rootfs 資料夾
$ mkdir rootfs新建一個名為 debootstrap_armhf.sh 的腳本
$ nano debootstrap_armhf.sh輸入下列的程式碼
ROOTFS_DIR=rootfs/
DEBIAN_VERSION=buster
debootstrap \
--arch=armhf \
--keyring=/usr/share/keyrings/debian-archive-keyring.gpg \
--verbose \
--foreign \
$DEBIAN_VERSION \
$ROOTFS_DIR
使用 root 權限執行這個腳本
$ su -
# cd ~eecs/virtualarm
# sh debootstrap_armhf.sh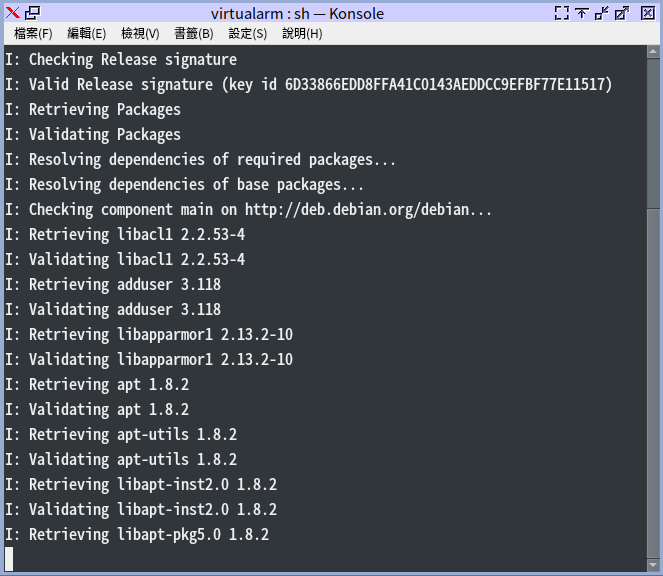
跑完之後檢查一下容量
# du -sh rootfs/
執行 Change root 以及繼續第二階段
首先複製虛擬執行環境
# cp /usr/bin/qemu-arm-static rootfs/將 root 根目錄切換到剛剛建立的 rootfs 裡面
# chroot rootfs/ /bin/bash
繼續第二階段的安裝過程
# /debootstrap/debootstrap --second-stage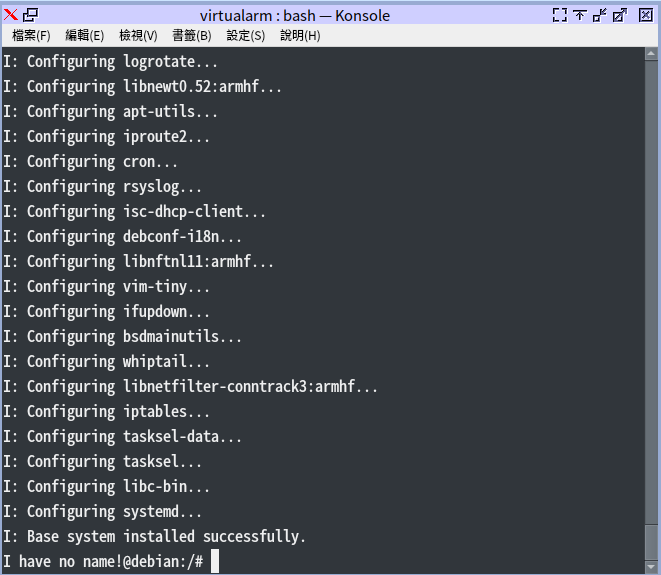
複製一份完整的系統檔案
由於這是剛做完的系統最乾淨,所以我們複製一份檔案出來
萬一後面改壞了還可以從這裡開始。
退出 chroot
# exit將原本的 rootfs 作為原本的檔案
# mv rootfs rootfs.orig然後複製一份出來做為修改用途
# cp -a rootfs.orig/ rootfs這樣就備份完成,繼續進入 chroot 做完後面的設定吧!
# chroot rootfs/ /bin/bash設定虛擬機器裡面的環境
總共要做以下這些事情(注意:要在 chroot 的虛擬機裡面做)
- root 密碼:leenix123
- 新增一個使用者帳號 leenix/密碼: leenix123
- 設定網路
- 設定 apt 來源
- 架設 webfs 伺服器
- 設定主機名稱
- 清理不必要檔案以節省空間 (目標:150MB 以下)
設定 root 密碼:leenix123
# echo root:leenix123 | chpasswd新增一個使用者帳號 leenix/密碼: leenix123
# useradd leenix
# echo leenix:leenix123 | chpasswd
設定網路
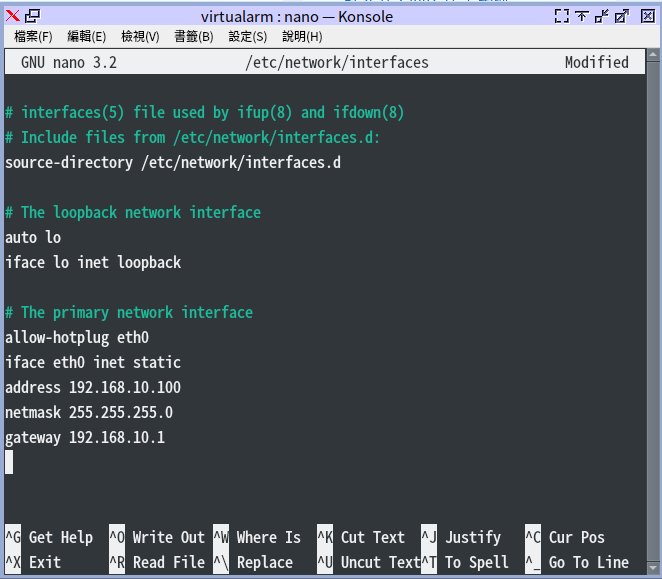
進入 interfaces ,貼上以下設定檔。儲存並退出
# nano /etc/network/interfaces# The loopback network interface auto lo iface lo inet loopback # The primary network interface allow-hotplug eth0 iface eth0 inet static address 192.168.10.100 netmask 255.255.255.0 gateway 192.168.10.1
設定 apt 來源
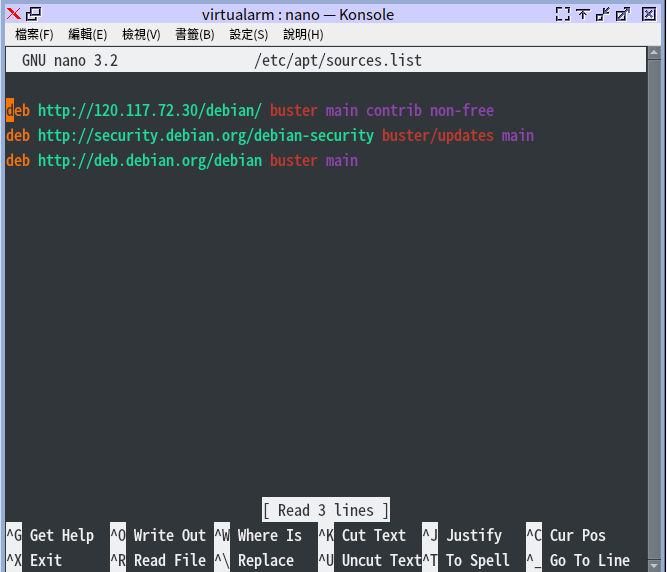
編輯 sources.list 檔案
# nano /etc/apt/sources.list輸入以下內容
注意以下IP:120.117.72.30 部份,本來應該要替換成自己電腦的IP
但是考試的時候不會有自己的鏡像站,所以請改成老師的鏡像站
120.117.72.71 或是 120.117.72.30 都可以
deb http://120.117.72.30/debian/ buster main contrib non-free
deb http://security.debian.org/debian-security buster/updates main
更新套件清單
# apt-get update架設 webfs 伺服器
安裝 webfs 套件並啟用開機自動啟動套件
# apt-get install webfs -y
# systemctl enable webfs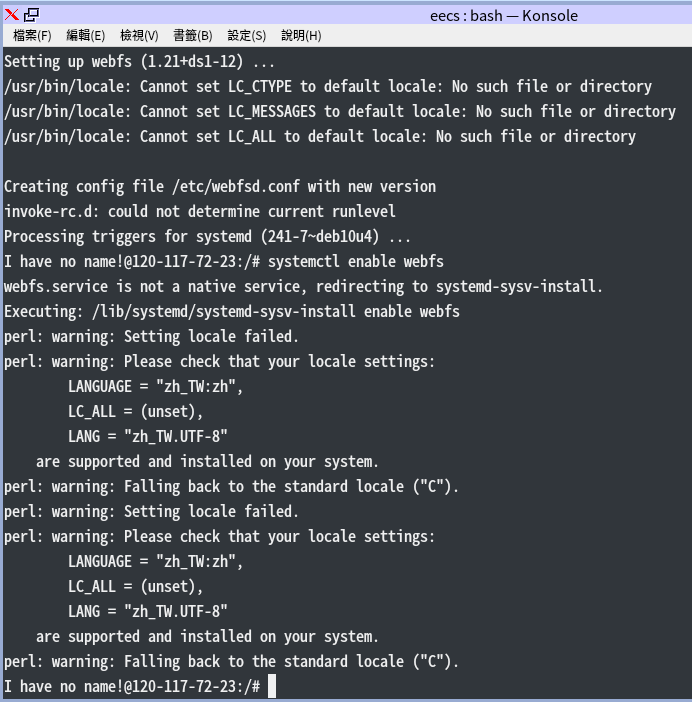
查看 webfs 的啟動狀態
# systemctl is-enabled webfs
建立網頁伺服器使用的資料夾以及新增 index.html 的內容
# mkdir -p /var/www/html
# echo "Welcome to LeeNIX!" > /var/www/html/index.html
設定 webfs 的設定檔
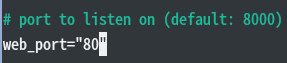
# nano /etc/webfsd.conf將 web_index=”” 設定為 web_index=”index.html”

將 web_port=”” 設定為 web_port=”80″
設定主機名稱
# echo arm_leenix > /etc/hostname清理不必要檔案以節省空間 (都是在 chroot 的機器裡面做)
首先看一下現在虛擬機佔了多少空間
# du -sh /
下指令清除 apt 暫存 (在 chroot 的機器裡面)
# apt-get clean再次查看容量

進入暫用容量最大的 /var/lib/apt/list 目錄
# cd /var/lib/apt/lists這個目錄裡面的東西全部都可以刪掉
# rm -f *再度查看容量
# du -sh /
進入 /usr/share/doc 目錄,刪除所有檔案
# cd /usr/share/doc
# rm -rf *
進入 /usr/share/locale,刪除所有檔案
# cd /usr/share/locale
# rm -rf *
進入 /usr/share/man,刪除所有檔案
# cd /usr/share/man
# rm -rf *
進入 cd /usr/share/zoneinfo,刪除所有檔案
# cd /usr/share/zoneinfo
# rm -rf *
全部都做完之後查看總容量
# du -sh /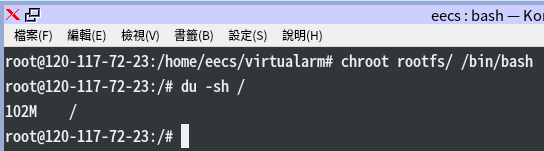
退出 chroot
# exit-
車牌回來了
但是現在汽門漏氣,維修ing...
- 受保護的內容: NAS 版 Mathbot 管理網站與 Linebot 啟動方法 - 2024 年 11 月 15 日
- Realtime 啥鬼的 - 2021 年 6 月 15 日
- nodejs 數學遊戲 - 2021 年 6 月 8 日