
前置准备
因为要用到按钮去切换场景,所以要先完成一个按钮,详见以下文章
建立一个 UI 上的图片按钮
建立与复制场景 (Scene)
首先要先完成一个按钮

再来因为需要切换场景,所以要先复制一个场景 1,再复制一个场景 2
按下「档案」「另存为..」
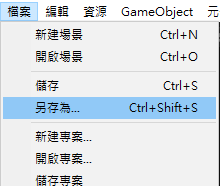
进入 Scenes 资料夹

输入名称 「scene1」并储存

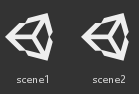
重复一次动作,再次制作一个 scene2

资源管理器里面会有两个「scene」
点两下 scene1 进行编辑
要变更 scene1 的场景颜色,点选 MainCamera
变更不同的颜色
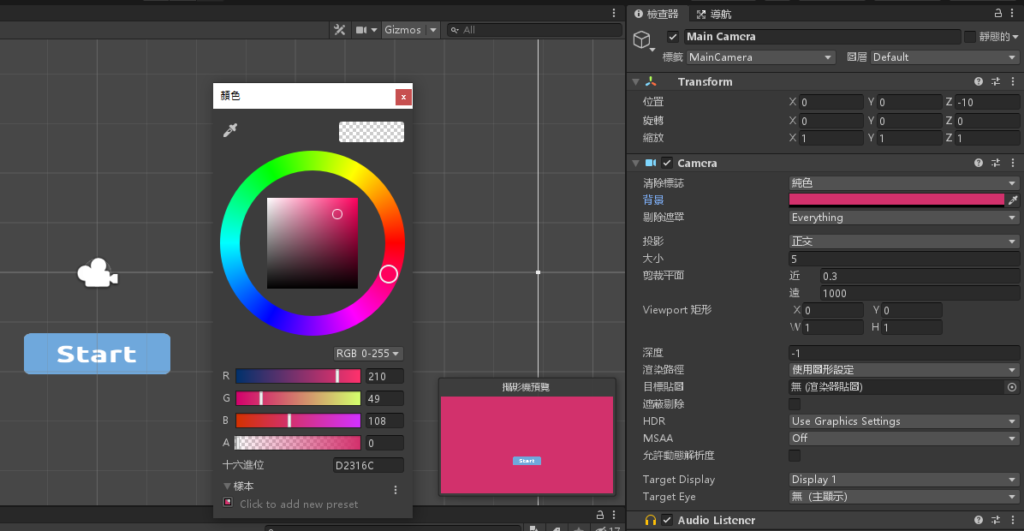
按下 Ctrl+S 储存场景
再重复一次动作把 scene2 的背景变更成与 scene1 不同的颜色
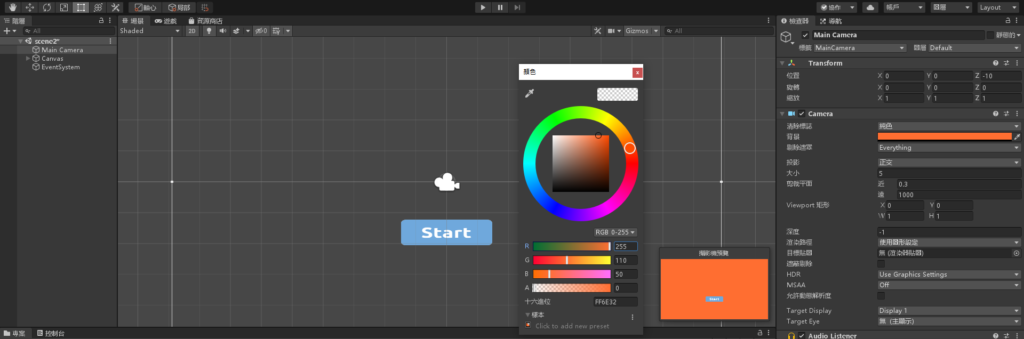
按下 Ctrl+S 储存场景
切换场景的脚本
建立一个脚本,名为「MenuActions」

点两下开启 VisualStudio 编辑脚本,贴上以下程式码
using System.Collections;
using System.Collections.Generic;
using UnityEngine;

public class MenuActions : MonoBehaviour
{
    // Start is called before the first frame update
    void Start()
    {

    }

    // Update is called once per frame
    void Update()
    {

    }

    public void MENU_ACTION_GOTO_PAGE(string scence)
    {
        Application.LoadLevel(scence);
    }
}
设定脚本连动
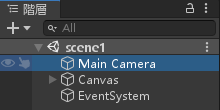
点选 scene1 场景,选择「阶层」视窗的「Main Camera」
将 MenuActions 脚本拉进去

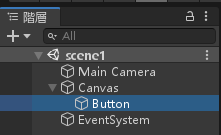
选择「阶层」「Canvas」底下的「Button」
设定连动 Main Camera 底下的脚本
往下拉找到 Button 属性底下的 滑鼠按一下() (On Click())
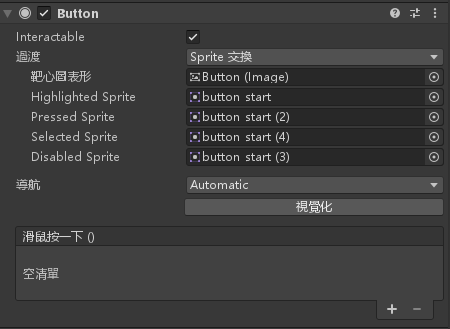
再来按照图片设定脚本连动
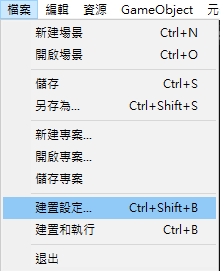
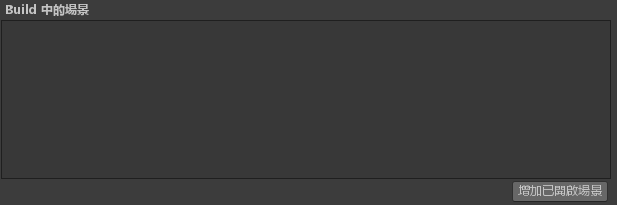
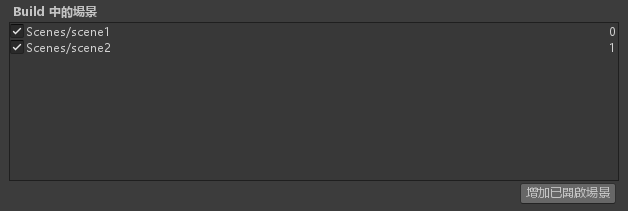
设定执行的场景,选择「档案」「建置设定..」
按下「增加已开启场景」
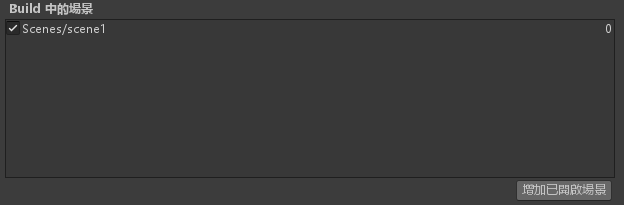
按下 Ctrl + S 储存场景变更
到这里 scene1 设定完成,接着将 scene2 再做一次「设定脚本连动」环节

按下 Ctrl + S 储存场景变更
最后效果
资工系所硕二毕
-
车牌回来了
但是现在汽门漏气,维修ing...
-
车牌回来了
但是现在汽门漏气,维修ing...
Latest posts by SHXJ (see all)
- 受保护的内容: NAS 版 Mathbot 管理网站与 Linebot 启动方法 - 2024 年 11 月 15 日
- Realtime 啥鬼的 - 2021 年 6 月 15 日
- nodejs 数学游戏 - 2021 年 6 月 8 日
在〈切换场景〉中有 1 则留言