
前置準備
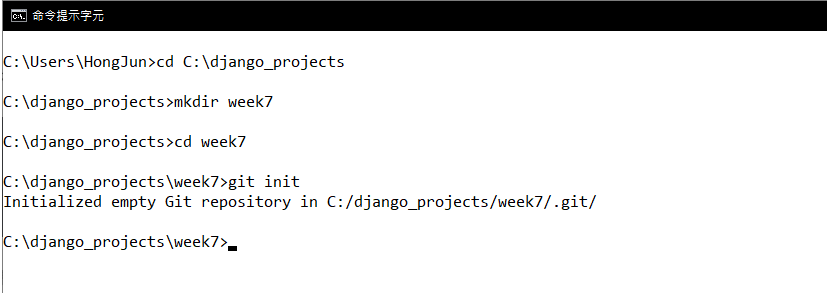
首先建立 week7 的目錄,並且建立基本的資料庫
cd C:\django_projects
mkdir week7
cd week7
git init
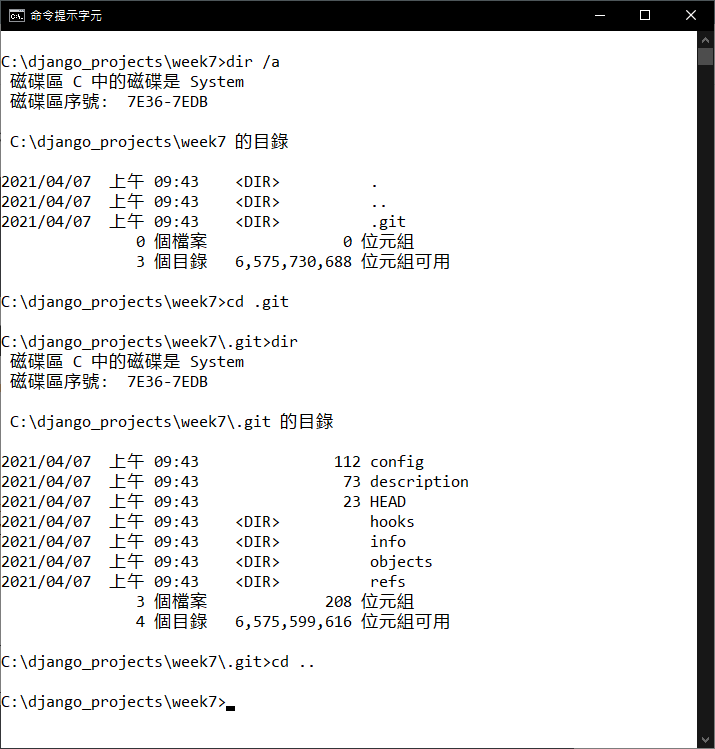
觀察一下 .git 的隱藏目錄
dir /a
cd .git
dir
cd ..
檔案追蹤練習
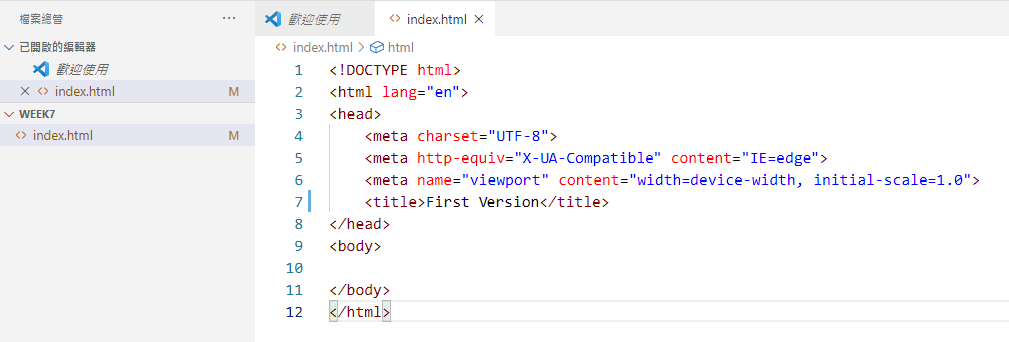
開啟 vscode 進行編輯
code .
在 week7 底下新增一個檔案 index.html ,在裡面貼上以下程式碼
<!DOCTYPE html>
<html lang="en">
<head>
<meta charset="UTF-8">
<meta http-equiv="X-UA-Compatible" content="IE=edge">
<meta name="viewport" content="width=device-width, initial-scale=1.0">
<title>First Version</title>
</head>
<body>
</body>
</html>
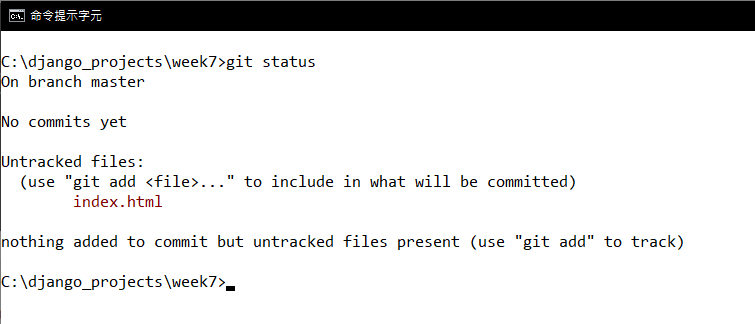
回到終端機,觀察檔案的狀態
git status
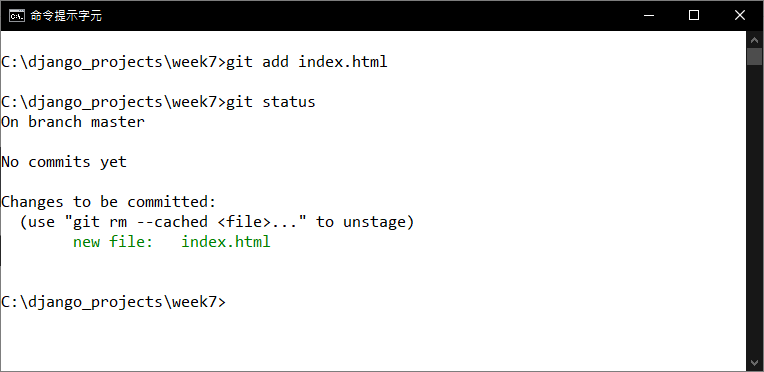
現在,把 index.html 檔案加入到索引區,並且再次查看檔案的狀態
git add index.html
git status
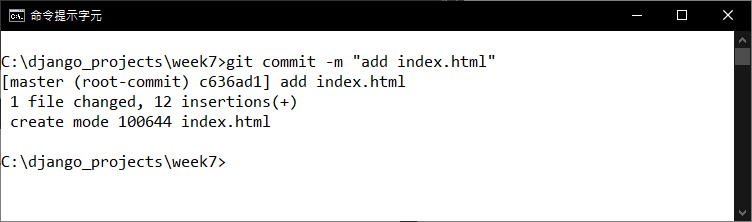
最後要把加入到索引區的檔案,正式的提交一個新的 commit
-m 參數表示要記錄的備註,也可以用來填寫版本資訊
git commit -m "add index.html"
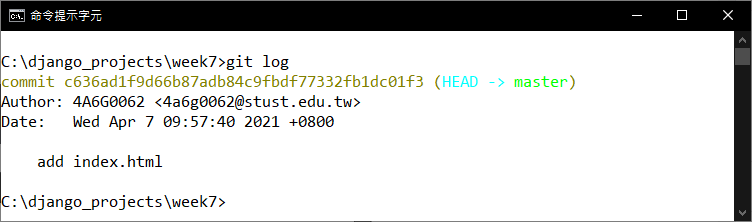
再來觀察一下版本的更新記錄 (log)
git log
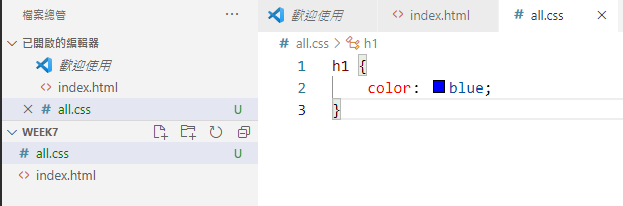
回到 vscode ,新增一個 all.css 檔案,並且貼入以下內容
h1 {
color: blue;
}
並且將 index.html 覆蓋以下程式碼
<!DOCTYPE html>
<html lang="en">
<head>
<meta charset="UTF-8">
<meta http-equiv="X-UA-Compatible" content="IE=edge">
<meta name="viewport" content="width=device-width, initial-scale=1.0">
<link rel="stylesheet" href="all.css">
<title>First version</title>
</head>
<body>
<h1>Git Test</h1>
</body>
</html>
將修改過的 index.html 檔案以及新增的 all.css 檔案加入索引區
git add .
再來將加入到索引區的檔案提交一個新的 commit
git commit -m "ver 2.0, add all.css"
git status
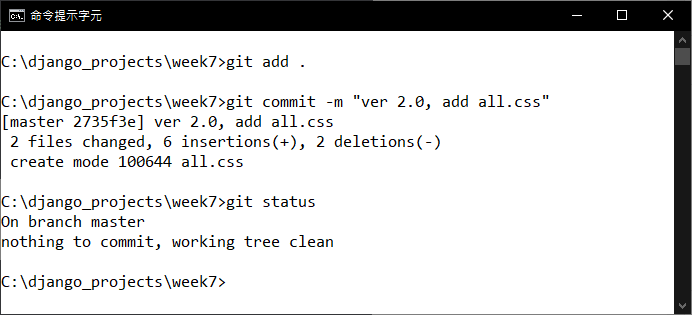
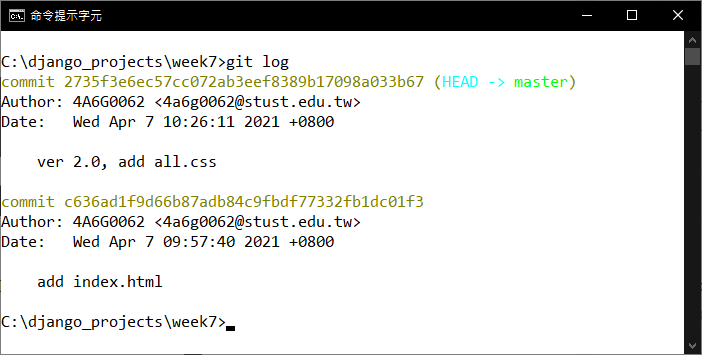
觀察一下剛剛上傳的新版本,並且查看之前的記錄
git log
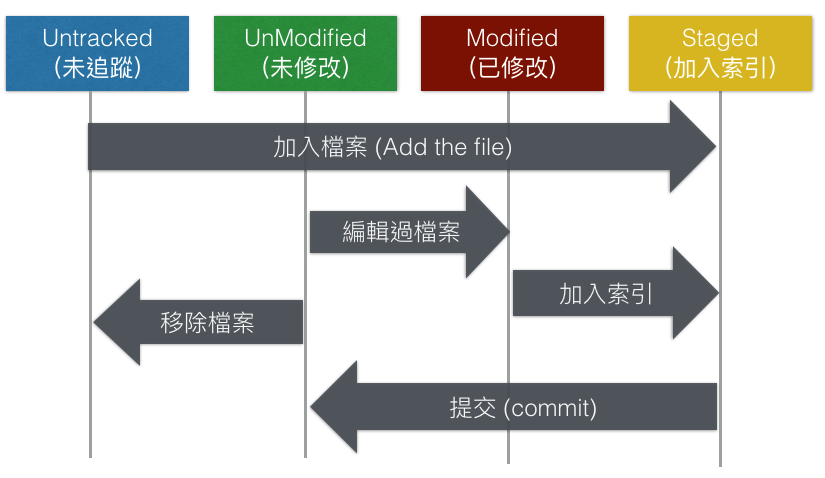
檔案追蹤機制
取用自網站 git 檔案追蹤機制
觀念驗證
修改一下剛剛的 all.css ,將 blue 改成 red
h1 {
color: red;
}
並且將 index.html 修改成以下的程式碼
<!DOCTYPE html>
<html lang="en">
<head>
<meta charset="UTF-8">
<meta http-equiv="X-UA-Compatible" content="IE=edge">
<meta name="viewport" content="width=device-width, initial-scale=1.0">
<link rel="stylesheet" href="all.css">
<title>First version</title>
</head>
<body>
<h1>Git Test 2</h1>
</body>
</html>
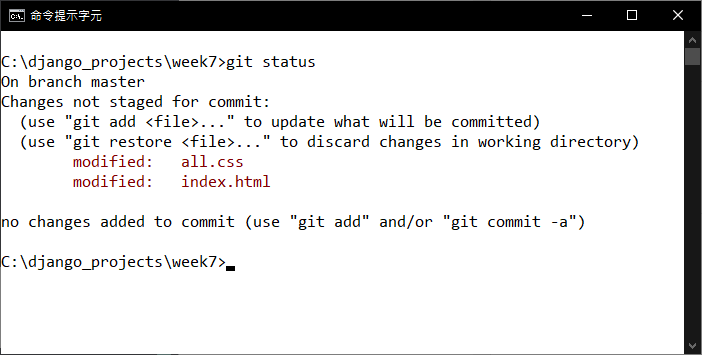
都存檔後查看一下目前的狀況
git status
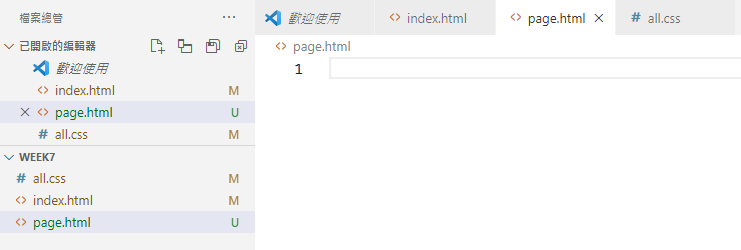
再次新增一個檔案,page.html 裡面並不用打上任何內容
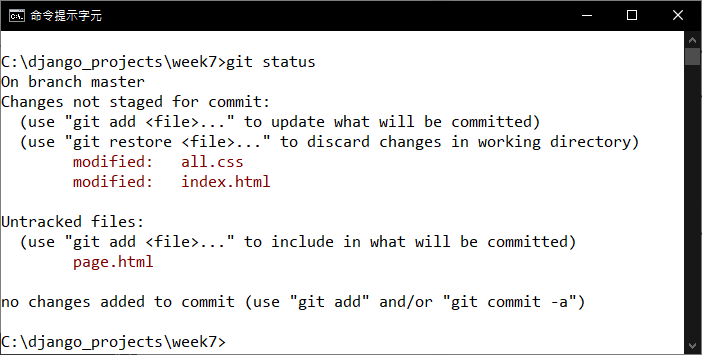
回到終端機,查看目前狀態
git status
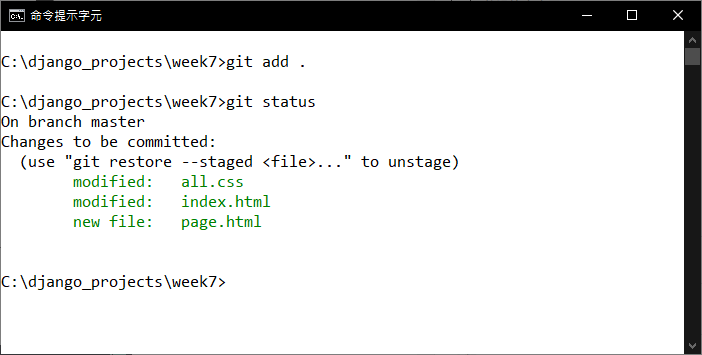
將三個檔案都加入索引區,再查看一下目前的變化
git add .
git status
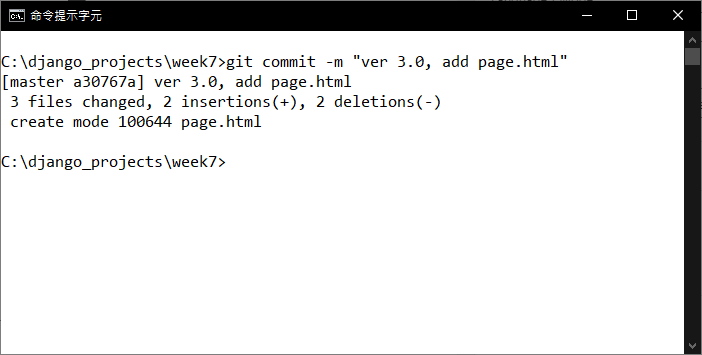
再來把剛剛的修改變化都提交一個新的 commit ,並且輸入第三版的資料
git commit -m "ver 3.0, add page.html"
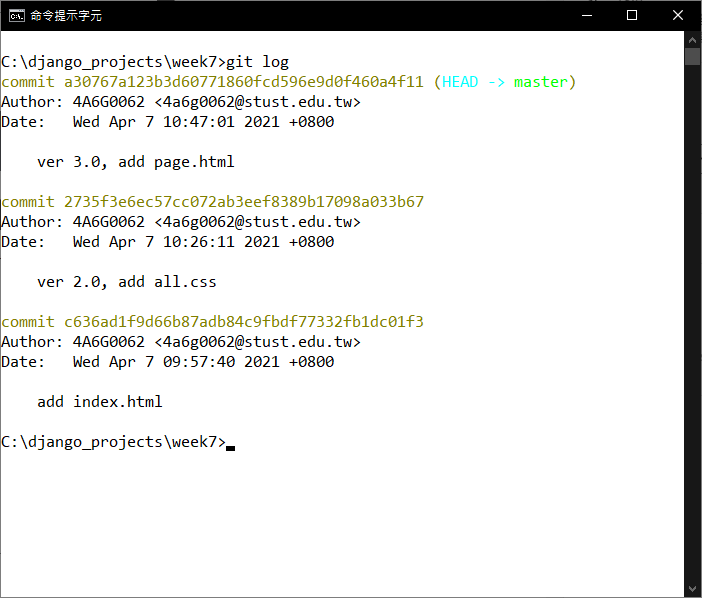
查詢一下變更的記錄
git log
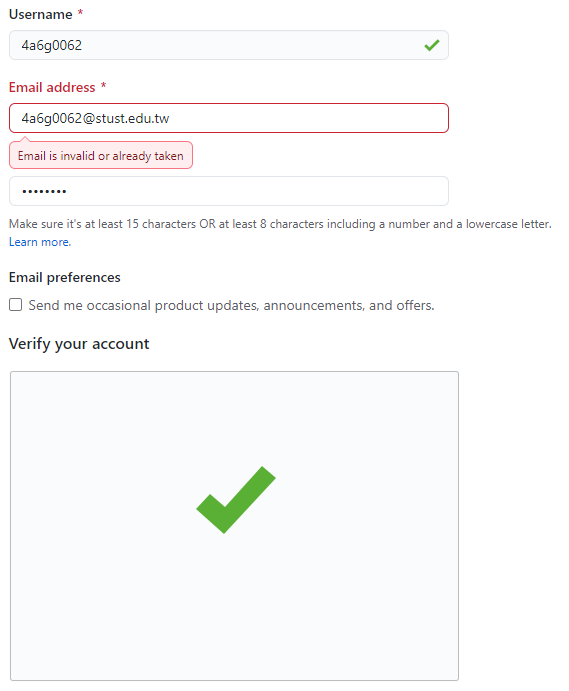
同步到遠端資料庫 (Github)
首先,註冊一個 Github 帳號,輸入以下的資料
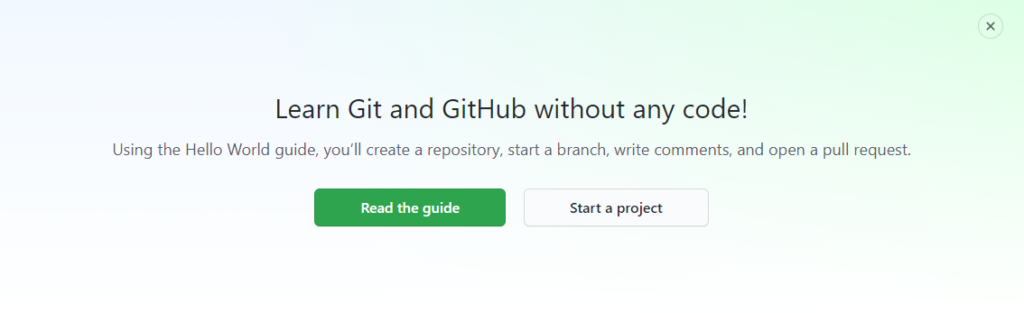
建立一個新的專案,按下 Start a project
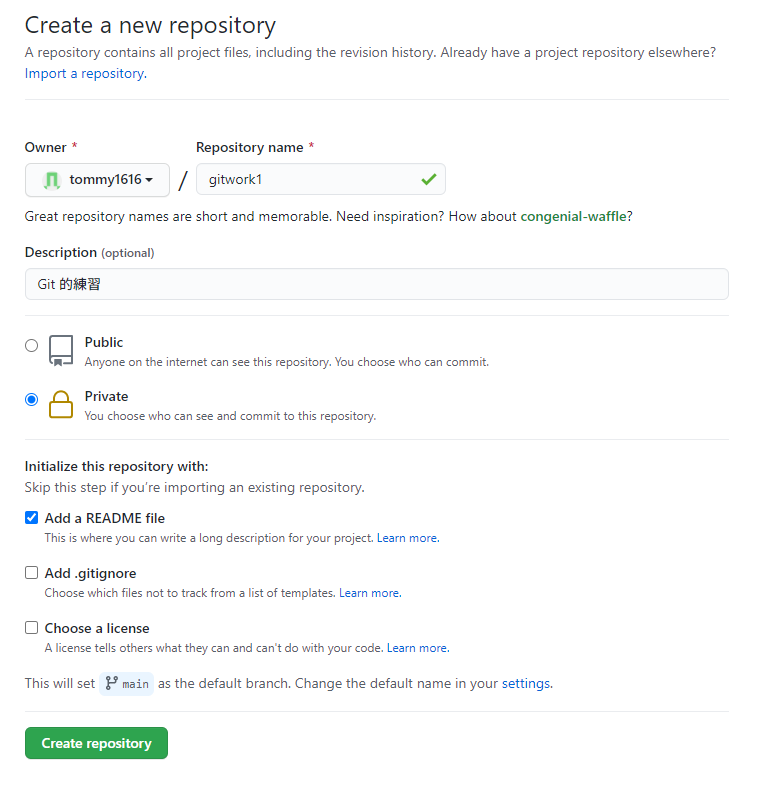
照著輸入以下的資訊,按下 Create Repository
這個就是新專案的頁面
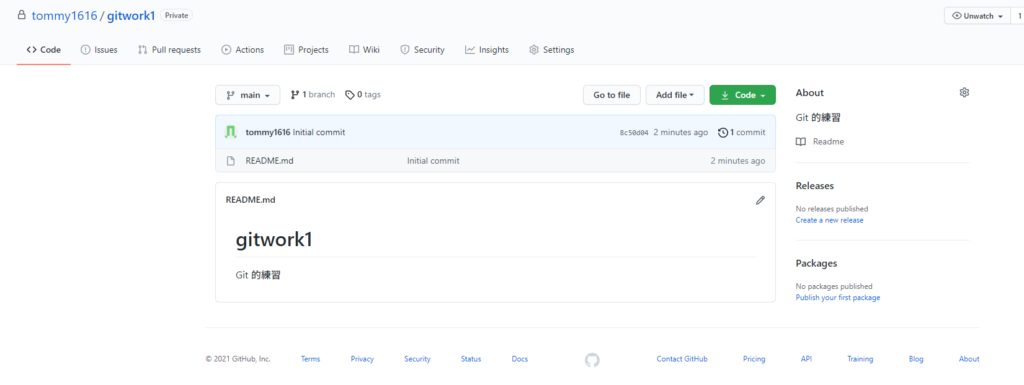
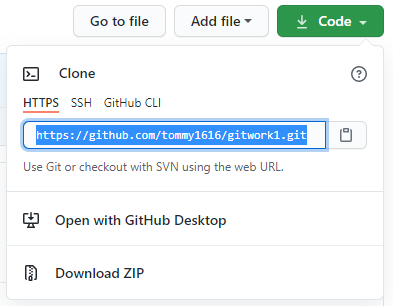
按下那個綠綠的 Code,將那個網址複製起來備用 (專案網址)
推送 commit 到遠端資料庫
開啟終端機,確認目前目錄在 week7 底下,設定遠端的資料庫名稱為 origin
git remote add origin https://github.com/yourname/gitwork1.git
以我的為例,就是這樣
git remote add origin https://github.com/tommy1616/gitwork1.git
再來把本地端的資料庫上傳到遠端伺服器的資料庫
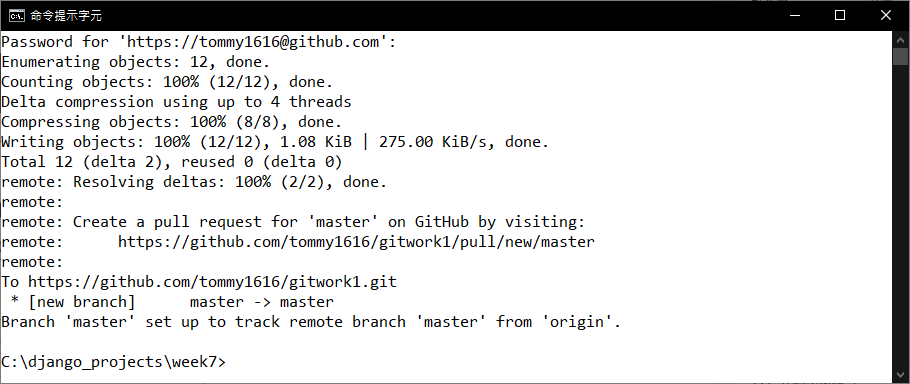
git push -u origin master
再來會跳出帳號密碼的驗證視窗,打入正確的帳號密碼登入,然後就會開始同步
切換到 Master branches
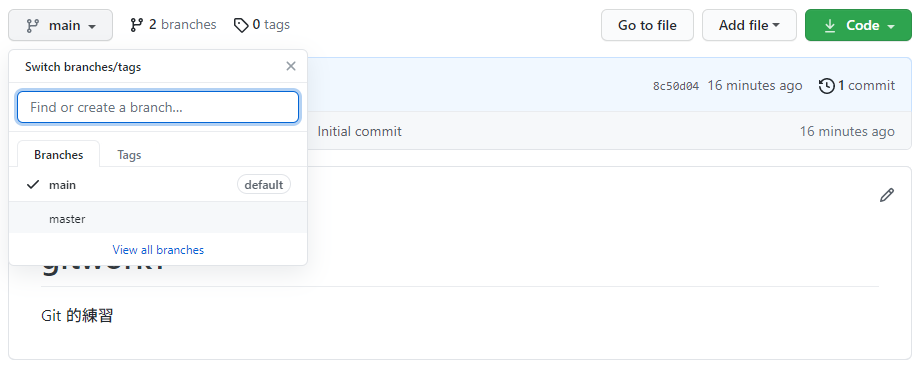
可以看到我們剛剛上傳的檔案了
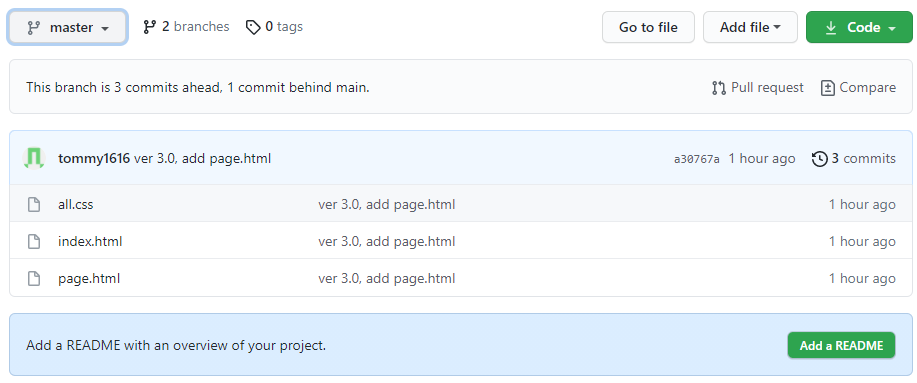
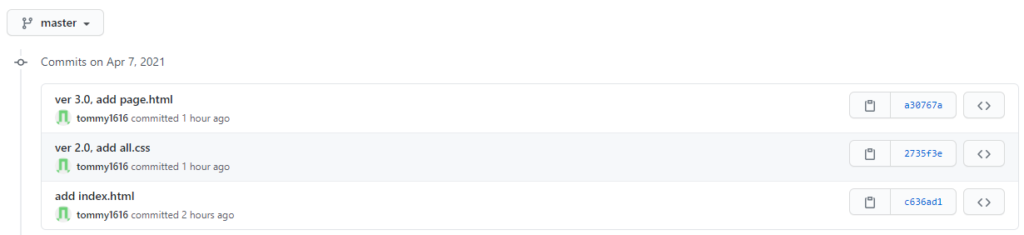
按下右上角的 3 commits 可以看到版本記錄
Git clone (複製資料庫) 練習
首先將 master 分支設定為預設的資料庫,在上方工具列點選 Settings

在左側選到 Branches 頁籤
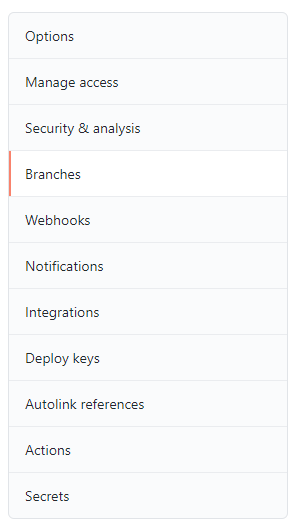
按下 Switch to another branch

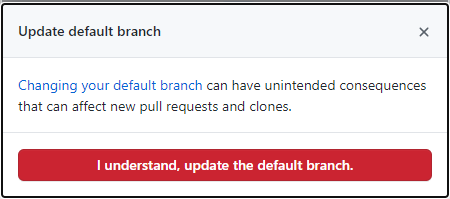
選到 master 並且按下 Update
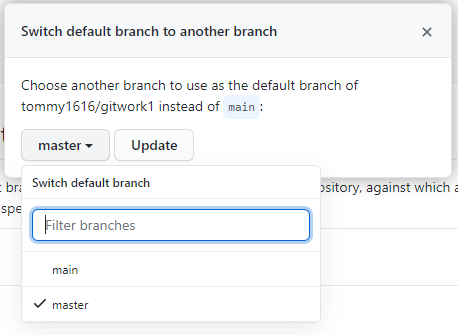
確定修改
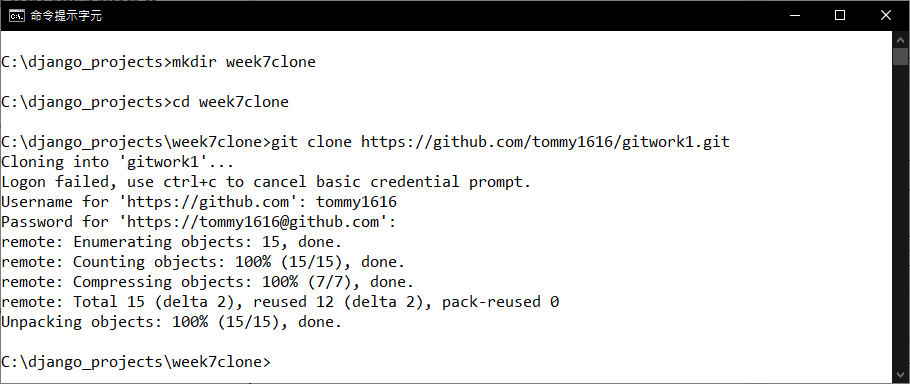
回到終端機,建立一個新的專案資料夾 week7clone 在上一層目錄
cd ..
mkdir week7clone
cd week7clone
git clone https://github.com/tommy1616/gitwork1.git
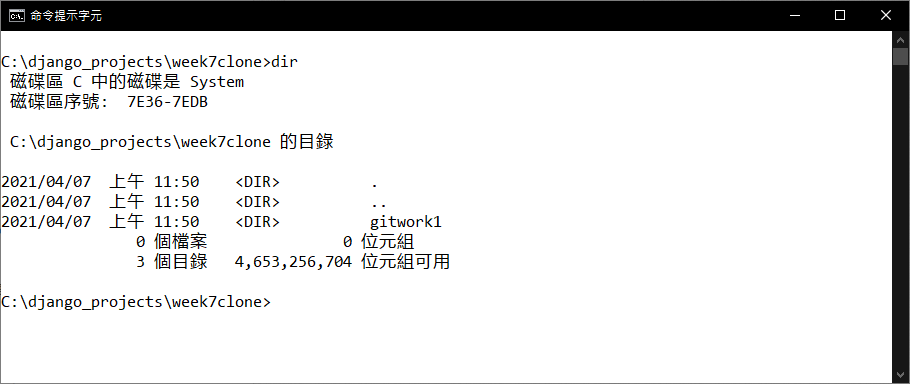
觀察一下這個目錄裡面的檔案
dir
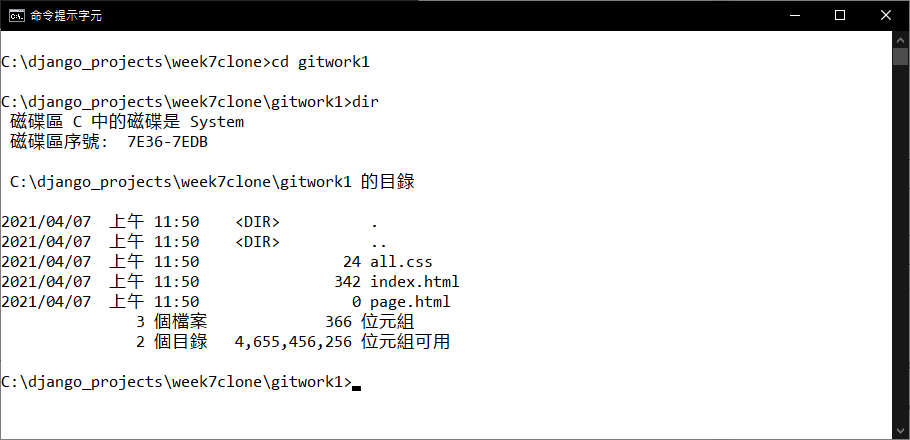
進入 gitwork1 資料夾觀察,可以發現剛剛建立的檔案
cd gitwork1
dir
-
車牌回來了
但是現在汽門漏氣,維修ing...
- 受保護的內容: NAS 版 Mathbot 管理網站與 Linebot 啟動方法 - 2024 年 11 月 15 日
- Realtime 啥鬼的 - 2021 年 6 月 15 日
- nodejs 數學遊戲 - 2021 年 6 月 8 日