
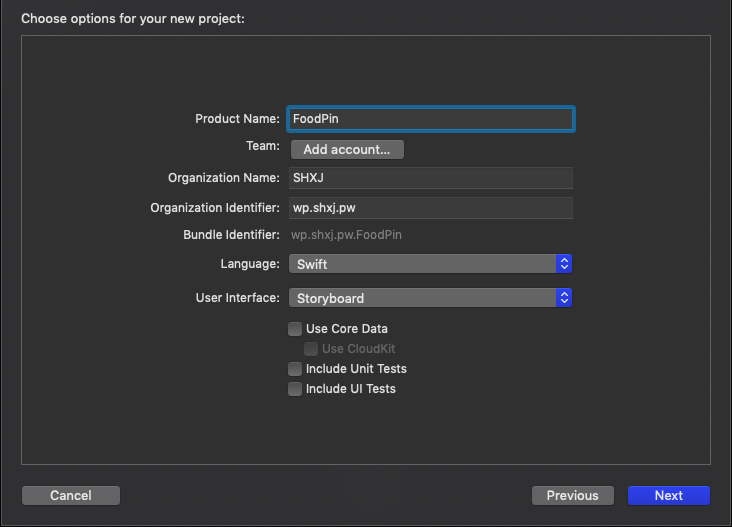
開啟一個新專案,名稱 FoodPin
把 ViewController.swift 按下右鍵 刪除
也把畫面上的都刪除
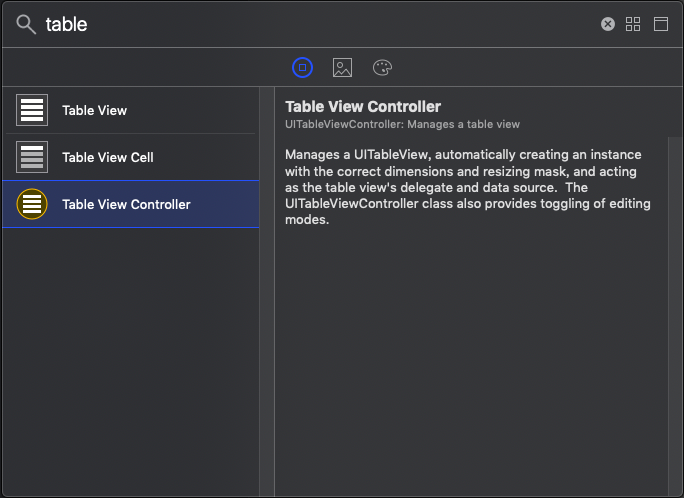
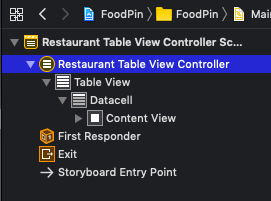
新增一個 Table View Controller
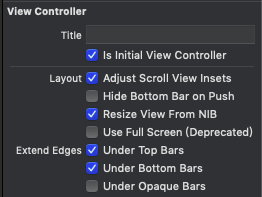
並且把 Is Initial View Controller 打勾
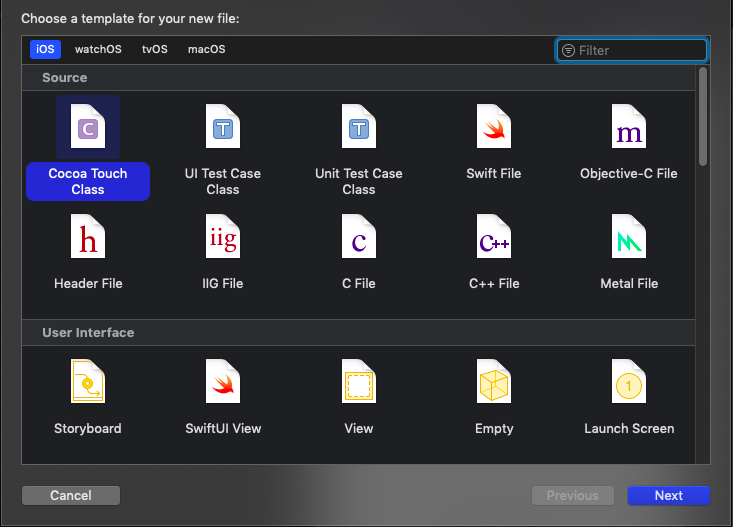
對著專案資料夾按下滑鼠右鍵 New File
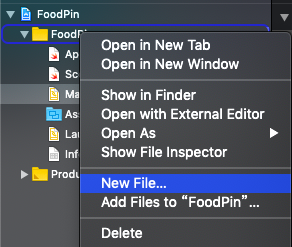
選擇 Cocoa Touch Class 按下 Next
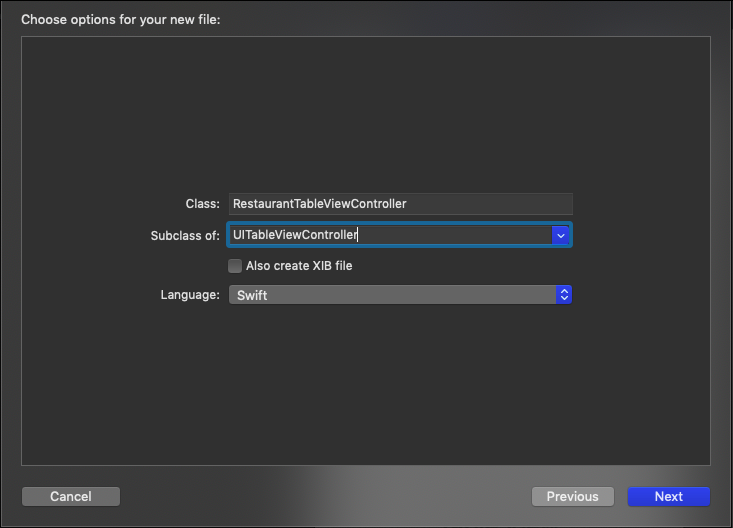
名稱設定為RestaurantTableViewController,Subclass of: UITableViewController
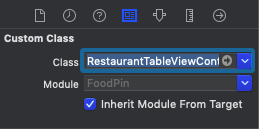
回到 Main.storyboard 點到最上層的 Restaurant View Controller
將 class 改為 RestaurantTableViewController
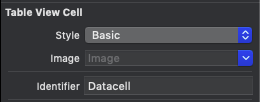
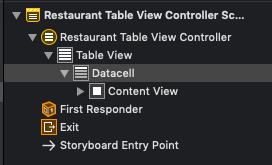
點到 Datacell
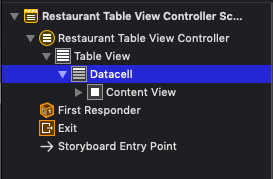
將表格形態改為 Basic ID改為 Datacell
進入 RestaurantTableViewController 程式碼部分,輸入以下程式碼
import UIKit

class RestaurantTableViewController: UITableViewController {
    var restaurantNames = ["Cafe Deadend", "Homei", "Teakha"]
    var restaurantImages = ["cafedeadend", "homei", "teakha"]

    override func viewDidLoad() {
        super.viewDidLoad()

        // Uncomment the following line to preserve selection between presentations
        // self.clearsSelectionOnViewWillAppear = false

        // Uncomment the following line to display an Edit button in the navigation bar for this view controller.
        // self.navigationItem.rightBarButtonItem = self.editButtonItem
    }

    // MARK: - Table view data source

    override func numberOfSections(in tableView: UITableView) -> Int {
        // #warning Incomplete implementation, return the number of sections
        return 1
    }

    override func tableView(_ tableView: UITableView, numberOfRowsInSection section: Int) -> Int {
        // #warning Incomplete implementation, return the number of rows
        return restaurantNames.count
    }


    override func tableView(_ tableView: UITableView, cellForRowAt indexPath: IndexPath) -> UITableViewCell {
        let cell = tableView.dequeueReusableCell(withIdentifier: "Datacell", for: indexPath)

        cell.textLabel?.text = restaurantNames[indexPath.row]
        cell.imageView?.image = UIImage(named: restaurantImages[indexPath.row])

        return cell
    }


    /*
    // Override to support conditional editing of the table view.
    override func tableView(_ tableView: UITableView, canEditRowAt indexPath: IndexPath) -> Bool {
        // Return false if you do not want the specified item to be editable.
        return true
    }
    */

    /*
    // Override to support editing the table view.
    override func tableView(_ tableView: UITableView, commit editingStyle: UITableViewCell.EditingStyle, forRowAt indexPath: IndexPath) {
        if editingStyle == .delete {
            // Delete the row from the data source
            tableView.deleteRows(at: [indexPath], with: .fade)
        } else if editingStyle == .insert {
            // Create a new instance of the appropriate class, insert it into the array, and add a new row to the table view
        }
    }
    */

    /*
    // Override to support rearranging the table view.
    override func tableView(_ tableView: UITableView, moveRowAt fromIndexPath: IndexPath, to: IndexPath) {

    }
    */

    /*
    // Override to support conditional rearranging of the table view.
    override func tableView(_ tableView: UITableView, canMoveRowAt indexPath: IndexPath) -> Bool {
        // Return false if you do not want the item to be re-orderable.
        return true
    }
    */

    /*
    // MARK: - Navigation

    // In a storyboard-based application, you will often want to do a little preparation before navigation
    override func prepare(for segue: UIStoryboardSegue, sender: Any?) {
        // Get the new view controller using segue.destination.
        // Pass the selected object to the new view controller.
    }
    */

}
將這個裡面的所有圖片拉到 Assets.xcassets
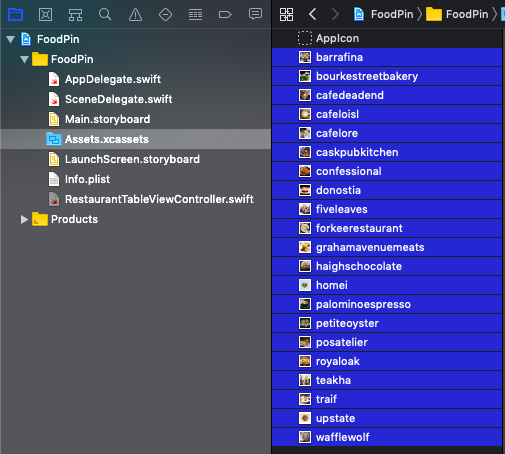
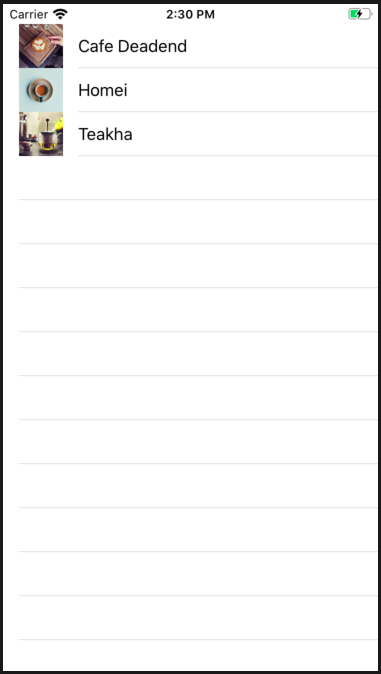
按下模擬器就可以顯示當前的圖片
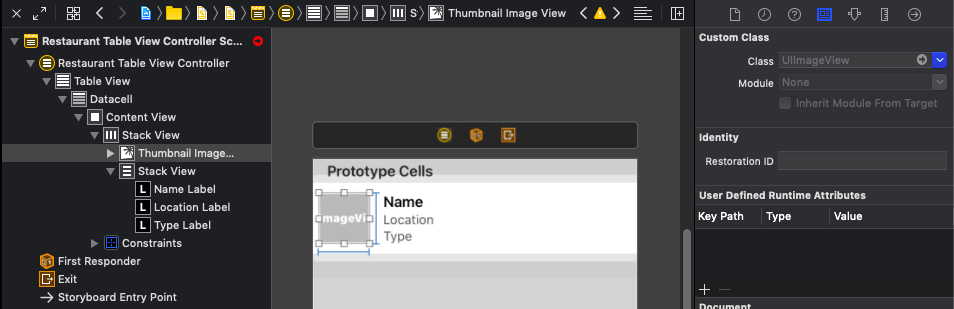
選擇 datacell
將 style 改為 Custom

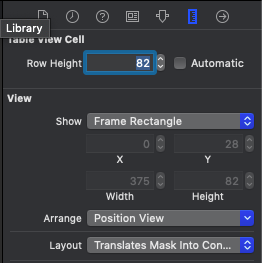
將列高改為 82
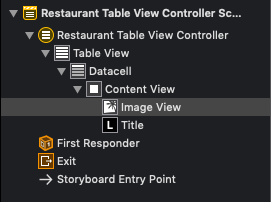
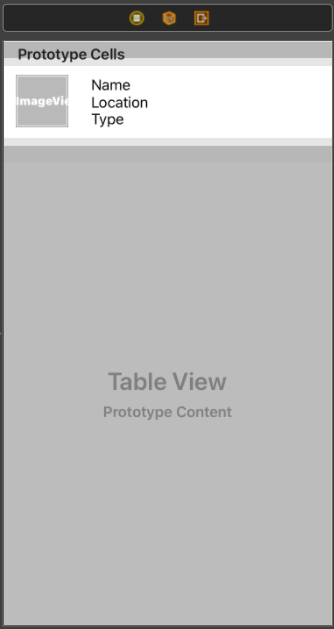
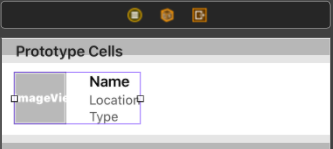
新增一個 Image View
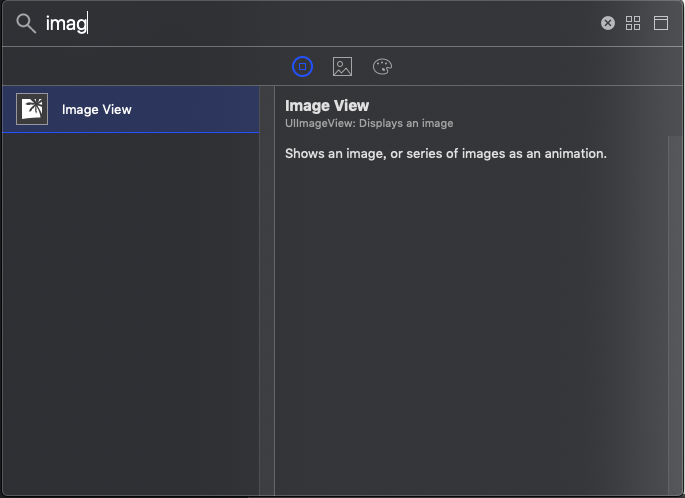
放到 Content View 裡面
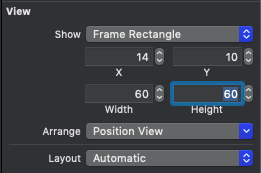
將 Image View 的大小改為
加入三個 Label ,並且改文字
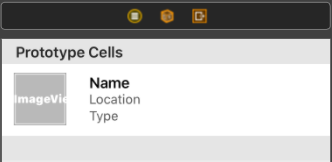
將第一個 Name 的樣式改為 Headline
第二三個樣式改為 Subhead,並且將顏色改為 Darkgray
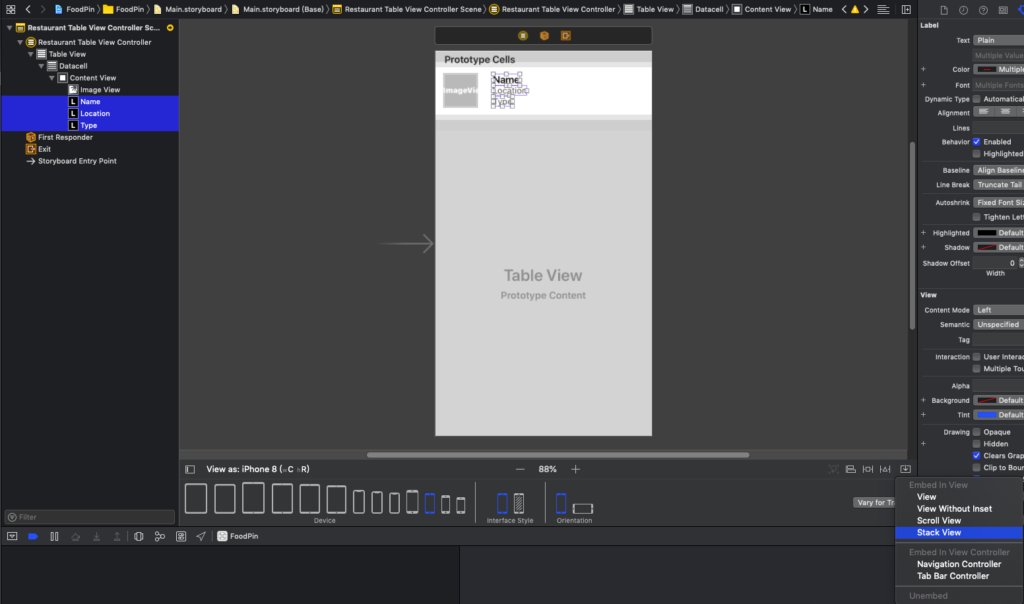
將三個控制項選起來,選擇 Stack view
將 Spacing 改為 1
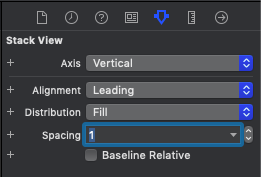
將文字的 Stack view 以及左邊的圖片選起來做 Stack view
將 Spacing 改為 15

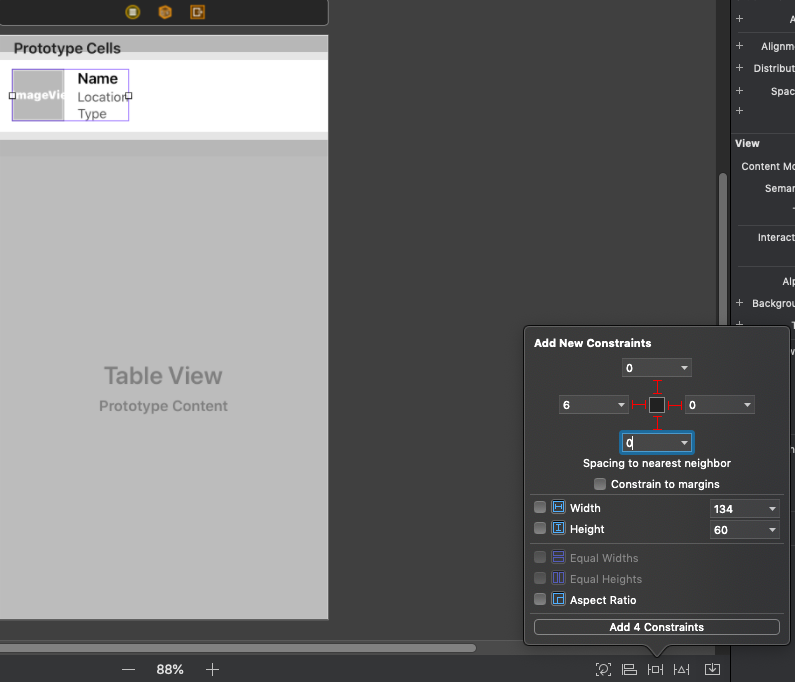
設定約束條件
將這個 Stack view 的 Alignment 改為 Center

在這個專案底下建立一個新的 Cocoa 類別,做以下設定
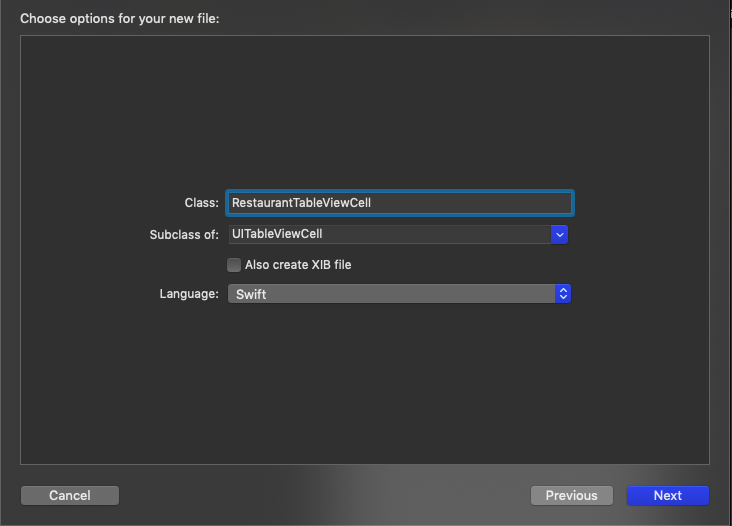
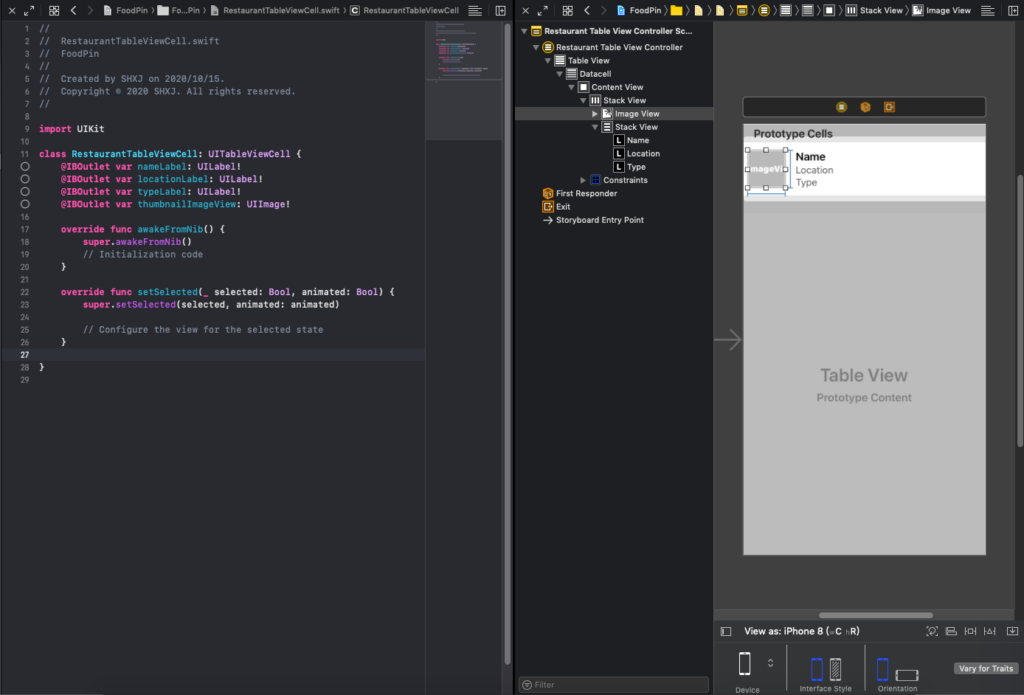
進入 RestaurantTableViewCell.swift 新增以下程式碼
import UIKit
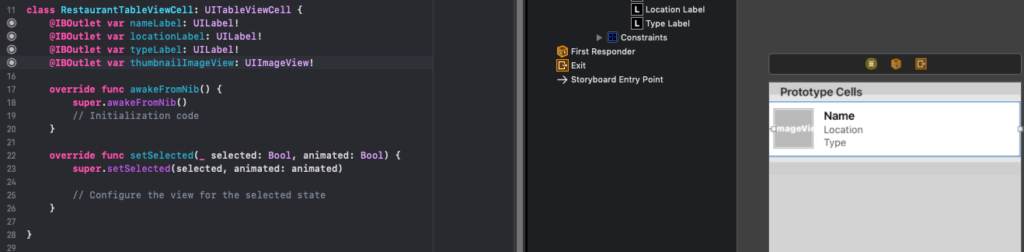
class RestaurantTableViewCell: UITableViewCell {
@IBOutlet var nameLabel: UILabel!
@IBOutlet var locationLabel: UILabel!
@IBOutlet var typeLabel: UILabel!
@IBOutlet var thumbnailImageView: UIImageView!
override func awakeFromNib() {
super.awakeFromNib()
// Initialization code
}
override func setSelected(_ selected: Bool, animated: Bool) {
super.setSelected(selected, animated: animated)
// Configure the view for the selected state
}
}切換到兩邊的排版
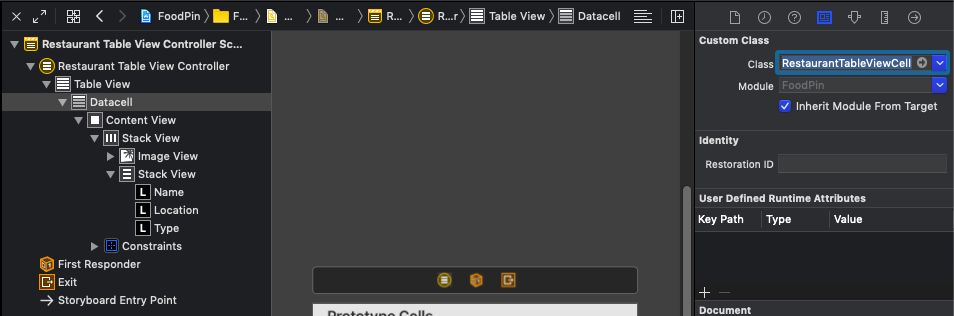
點到 Datacell 選擇 Class 為 RestaurantTableViewCell
將四個物件連連看連起來
將 RestaurantTableViewController 改為以下的程式碼
import UIKit
class RestaurantTableViewController: UITableViewController {
var restaurantNames = ["Cafe Deadend", "Homei", "Teakha"]
var restaurantImages = ["cafedeadend", "homei", "teakha"]
override func viewDidLoad() {
super.viewDidLoad()
// Uncomment the following line to preserve selection between presentations
// self.clearsSelectionOnViewWillAppear = false
// Uncomment the following line to display an Edit button in the navigation bar for this view controller.
// self.navigationItem.rightBarButtonItem = self.editButtonItem
}
// MARK: - Table view data source
override func numberOfSections(in tableView: UITableView) -> Int {
// #warning Incomplete implementation, return the number of sections
return 1
}
override func tableView(_ tableView: UITableView, numberOfRowsInSection section: Int) -> Int {
// #warning Incomplete implementation, return the number of rows
return restaurantNames.count
}
override func tableView(_ tableView: UITableView, cellForRowAt indexPath: IndexPath) -> UITableViewCell {
let cell = tableView.dequeueReusableCell(withIdentifier: "Datacell", for: indexPath) as! RestaurantTableViewCell
cell.nameLabel.text = restaurantNames[indexPath.row]
cell.thumbnailImageView.image = UIImage(named: restaurantImages[indexPath.row])
return cell
}
/*
// Override to support conditional editing of the table view.
override func tableView(_ tableView: UITableView, canEditRowAt indexPath: IndexPath) -> Bool {
// Return false if you do not want the specified item to be editable.
return true
}
*/
/*
// Override to support editing the table view.
override func tableView(_ tableView: UITableView, commit editingStyle: UITableViewCell.EditingStyle, forRowAt indexPath: IndexPath) {
if editingStyle == .delete {
// Delete the row from the data source
tableView.deleteRows(at: [indexPath], with: .fade)
} else if editingStyle == .insert {
// Create a new instance of the appropriate class, insert it into the array, and add a new row to the table view
}
}
*/
/*
// Override to support rearranging the table view.
override func tableView(_ tableView: UITableView, moveRowAt fromIndexPath: IndexPath, to: IndexPath) {
}
*/
/*
// Override to support conditional rearranging of the table view.
override func tableView(_ tableView: UITableView, canMoveRowAt indexPath: IndexPath) -> Bool {
// Return false if you do not want the item to be re-orderable.
return true
}
*/
/*
// MARK: - Navigation
// In a storyboard-based application, you will often want to do a little preparation before navigation
override func prepare(for segue: UIStoryboardSegue, sender: Any?) {
// Get the new view controller using segue.destination.
// Pass the selected object to the new view controller.
}
*/
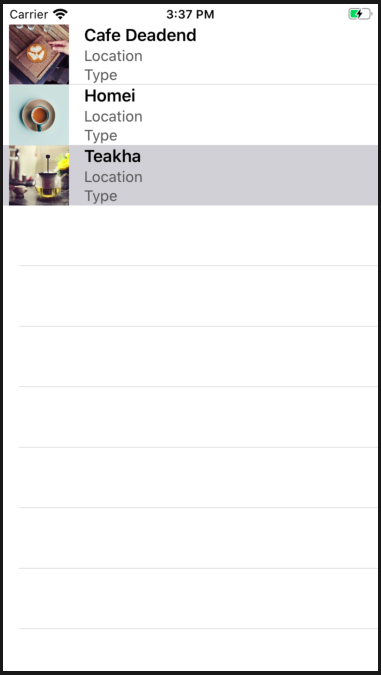
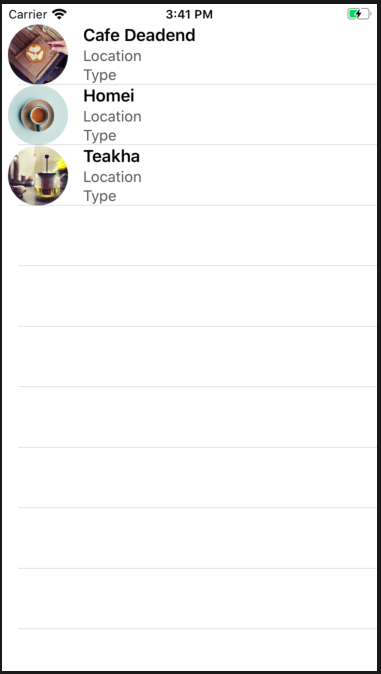
}執行模擬器看一下
選擇 User Defined Runtime Attributes 按下 +
設定成這樣
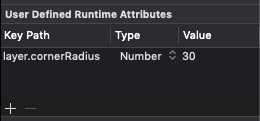
執行模擬機就可以看到圖片變成圓形了
-
車牌回來了
但是現在汽門漏氣,維修ing...
- 受保護的內容: NAS 版 Mathbot 管理網站與 Linebot 啟動方法 - 2024 年 11 月 15 日
- Realtime 啥鬼的 - 2021 年 6 月 15 日
- nodejs 數學遊戲 - 2021 年 6 月 8 日