
前置作业
首先按照上个礼拜的文章,建立一个虚拟环境,资料夹使用 week2
建立完成后进入虚拟环境 week2 资料夹
将 django 套件安装起来并且确认版本
pip install django
python -m django --version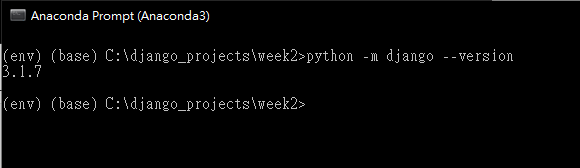
建立一个专案,名称为 mysite
django-admin startproject mysite
进入专案资料夹并且测试伺服器能不能运作
cd mysite
python manage.py runserver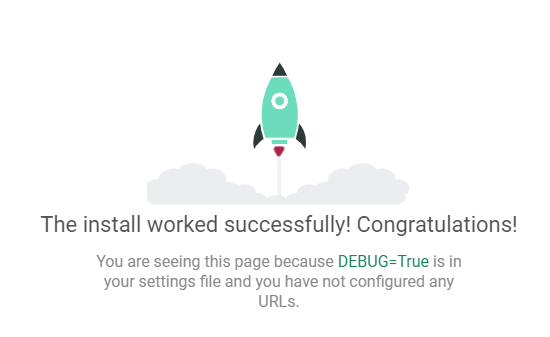
再来按照上个礼拜的文章,建立一个 polls 模组

资料库设定
首先在 mysite 目录开启 VSCODE
code .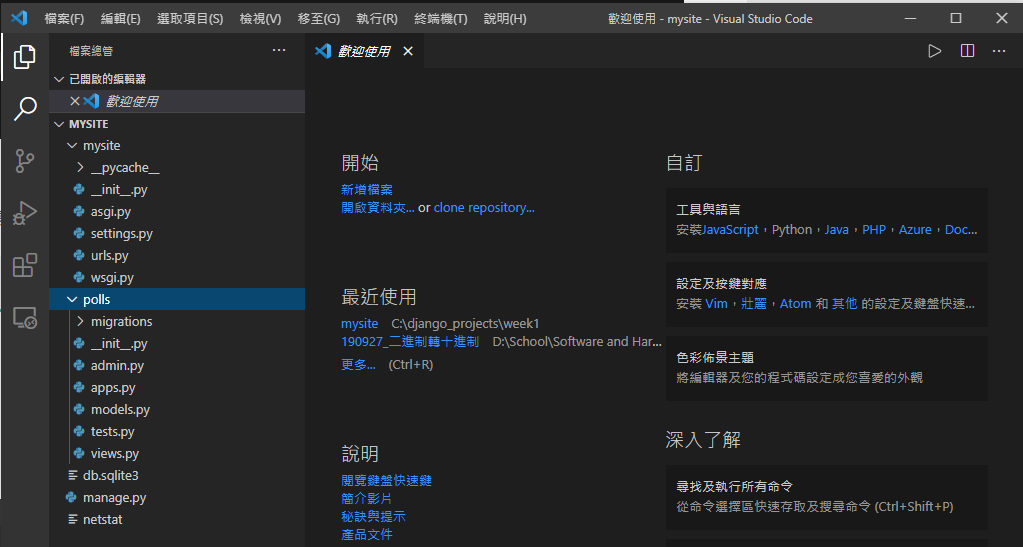
开启 mysite/settings.py 档案,修改时区 (第 106、108 行) 为台湾时区
LANGUAGE_CODE = 'zh-Hant'
TIME_ZONE = 'Asia/Taipei'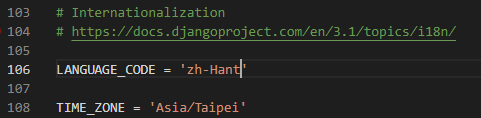
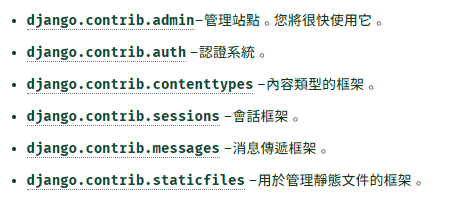
预设的情况下,django 包含以下的模组
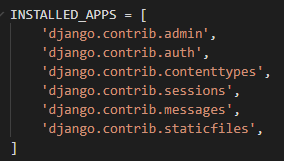
以下是官方文件对于这些模组的解释
再来执行以下的指令建立资料库
python manage.py migrate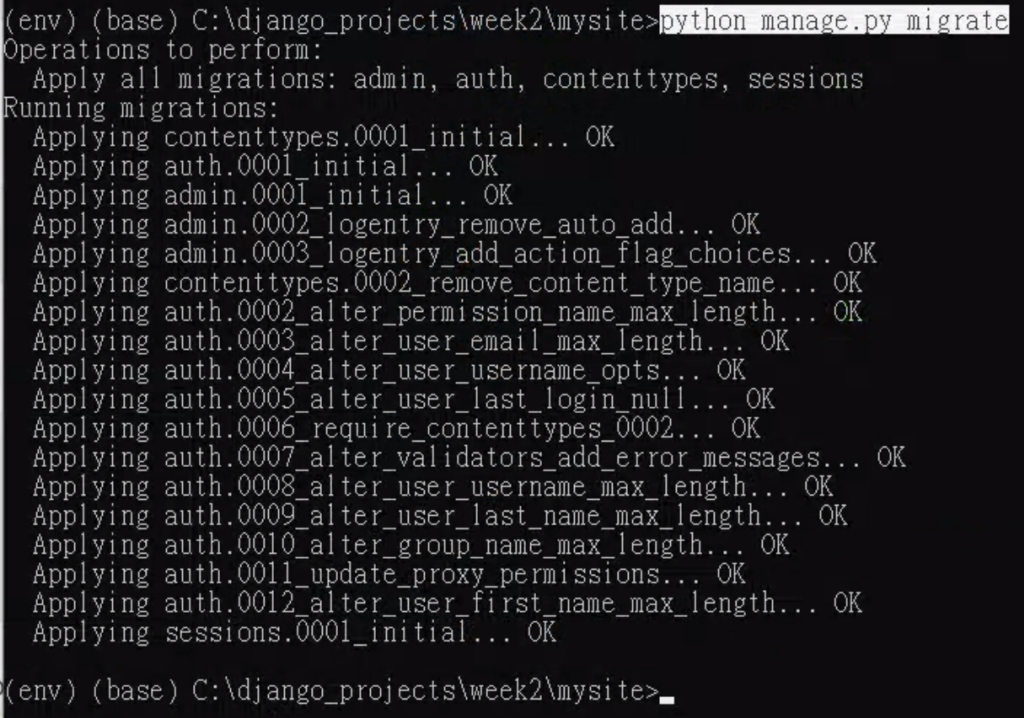
开启 polls/models.py 档案,修改成以下程式码
from django.db import models


class Question(models.Model):
    question_text = models.CharField(max_length=200)
    pub_date = models.DateTimeField('date published')


class Choice(models.Model):
    question = models.ForeignKey(Question, on_delete=models.CASCADE)
    choice_text = models.CharField(max_length=200)
    votes = models.IntegerField(default=0)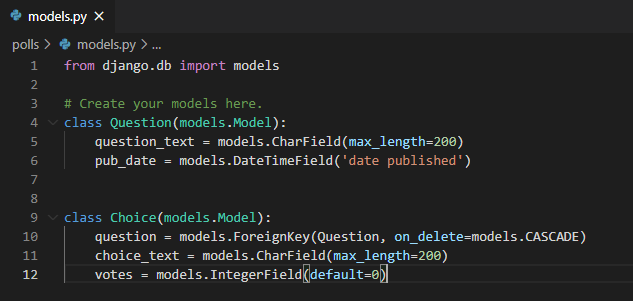
开启 mysite/settings.py ,找到 INSTALLED_APPS (第33行),加入新的一行设定档案
'polls.apps.PollsConfig',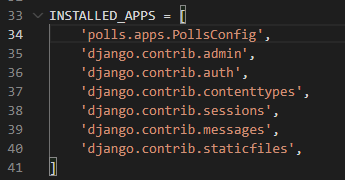
执行以下的指令,告诉 django 我们对于模组有做了一些更改
把 model 类别定义转换成 django 资料库修改的语法
并且观察 django 资料修改的语法 (翻译 SQL 指令)
python manage.py makemigrations polls
python manage.py sqlmigrate polls 0001
输入以下的指令执行写入资料库,建立以及修改资料表
python manage.py migrate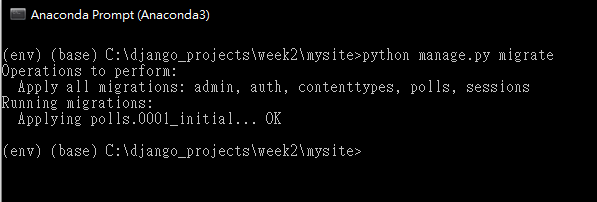
进入 python 与 django 的互动式 shell 终端机
python manage.py shell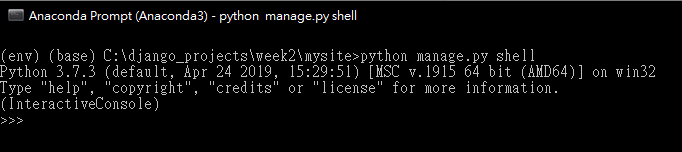
汇入 polls 模组
from polls.models import Choice, Question查看一下目前的所有资料
Question.objects.all()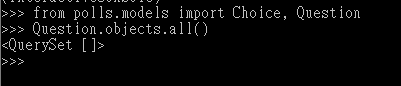
汇入时区,准备新增资料
from django.utils import timezone新增一笔资料
q = Question(question_text="What's new?", pub_date=timezone.now())储存这一笔资料
q.save()查看刚刚新增资料的 id
q.id
查看第一笔资料的问题文字
q.question_text查看第一笔资料的发布日期
q.pub_date
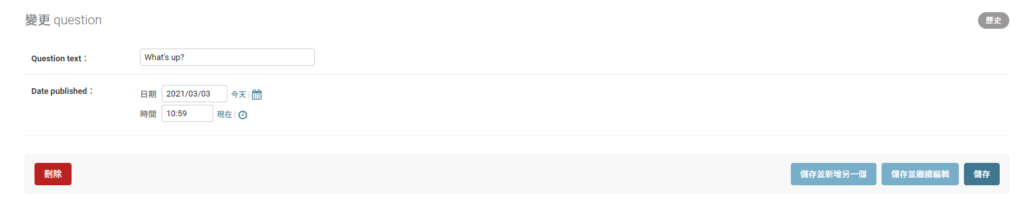
修改第一笔资料问题的文字为 “What’s up?” 并且储存
q.question_text = "What's up?"
q.save()
再次查看目前的所有资料
Question.objects.all()
编辑 polls/models.py ,修改成以下程式码
import datetime

from django.db import models
from django.utils import timezone

# Create your models here.
class Question(models.Model):
    question_text = models.CharField(max_length=200)
    pub_date = models.DateTimeField('date published')

    def __str__(self):
        return self.question_text
    def was_published_recently(self):
        return self.pub_date >= timezone.now() - datetime.timedelta(days=1)


class Choice(models.Model):
    question = models.ForeignKey(Question, on_delete=models.CASCADE)
    choice_text = models.CharField(max_length=200)
    votes = models.IntegerField(default=0)

    def __str__(self):
        return self.choice_text
回到互动式的 shell 终端机,首先载入基本的模组
python manage.py shell
from polls.models import Choice, Question
from django.utils import timezone
查找资料,设定条件 id = 1
Question.objects.filter(id=1)
查询资料,设定条件为 问题起始为 “What”
Question.objects.filter(question_text__startswith='What')
设定目前的年份
current_year = timezone.now().year查询资料,设定条件为今年的资料
Question.objects.get(pub_date__year=current_year)
查询资料,设定条件为键值 = 1
Question.objects.get(pk=1)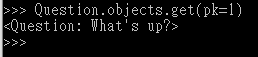
判定某一笔资料是不是最近一天内发布的资料
q = Question.objects.get(pk=1)
q.was_published_recently()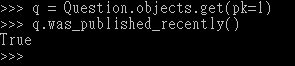
查询资料,设定条件为已选择的资料
q.choice_set.all()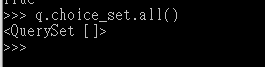
建立三个已选择的资料
q.choice_set.create(choice_text='Not much', votes=0)
q.choice_set.create(choice_text='The sky', votes=0)
c = q.choice_set.create(choice_text='Just hacking again', votes=0)
c.question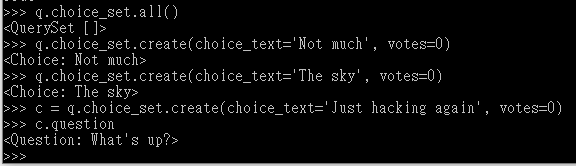
显示已选择的资料与数量
q.choice_set.all()
q.choice_set.count()
查询资料,设定条件今年发布的资料
Choice.objects.filter(question__pub_date__year=current_year)
删除其中一个选项
c = q.choice_set.filter(choice_text__startswith='Just hacking')
c.delete()
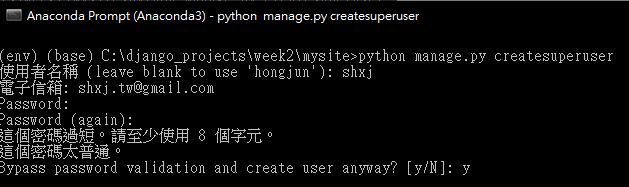
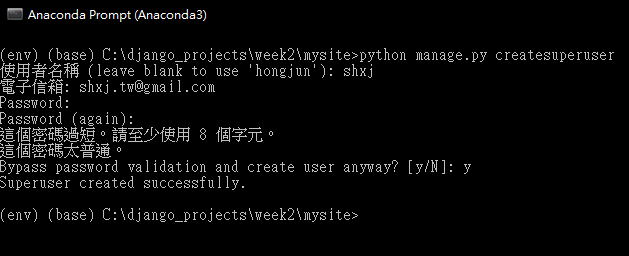
建立一个管理员帐号
输入以下的指令建立一个超级使用者(管理员)帐号
python manage.py createsuperuser输入管理员帐号

输入电子信箱

输入密码 (确认使用不安全的密码)
建立成功
开启伺服器后台,登入刚刚输入的帐号密码
python manage.py runserver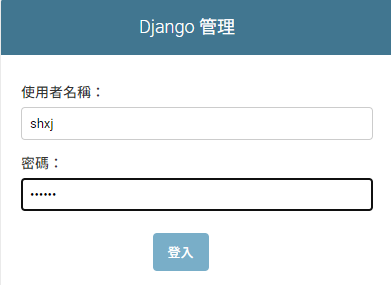
登入画面
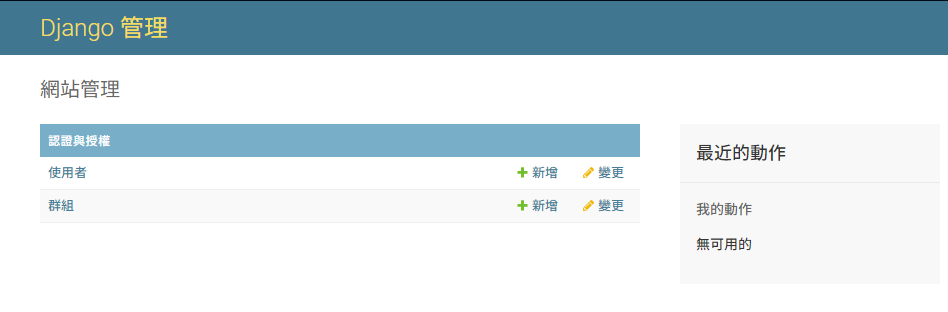
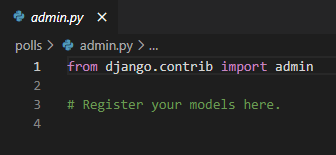
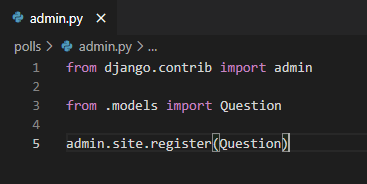
但是后台没有看到刚刚我们建立的资料,所以要修改一下 polls/admin.py 档案
加入以下的程式码
from django.contrib import admin

from .models import Question

admin.site.register(Question)
再次进入后台,会发现多了一个 polls
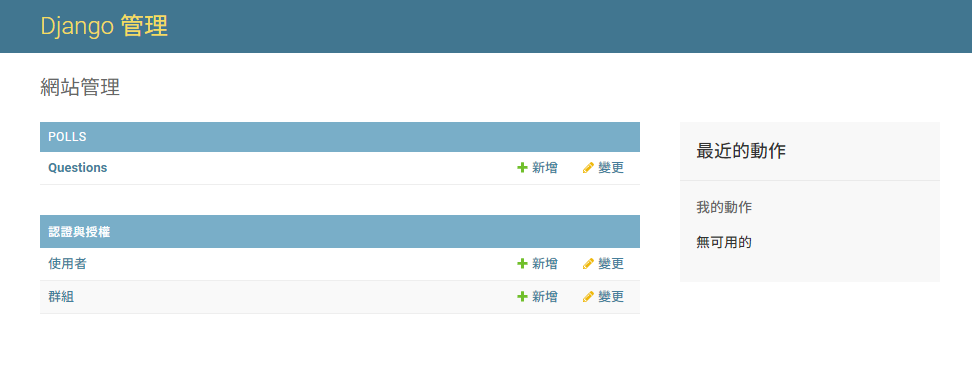
再来就可以变更资料
-
车牌回来了
但是现在汽门漏气,维修ing...
- 受保护的内容: NAS 版 Mathbot 管理网站与 Linebot 启动方法 - 2024 年 11 月 15 日
- Realtime 啥鬼的 - 2021 年 6 月 15 日
- nodejs 数学游戏 - 2021 年 6 月 8 日